Operations Settings
Operations settings control the day-to-day behavior of your store's POS system, including which payment methods are available on the register and session defaults.
Accessing Operations Settings
- Log in to the Admin Panel.
- Click Settings in the top navigation bar.
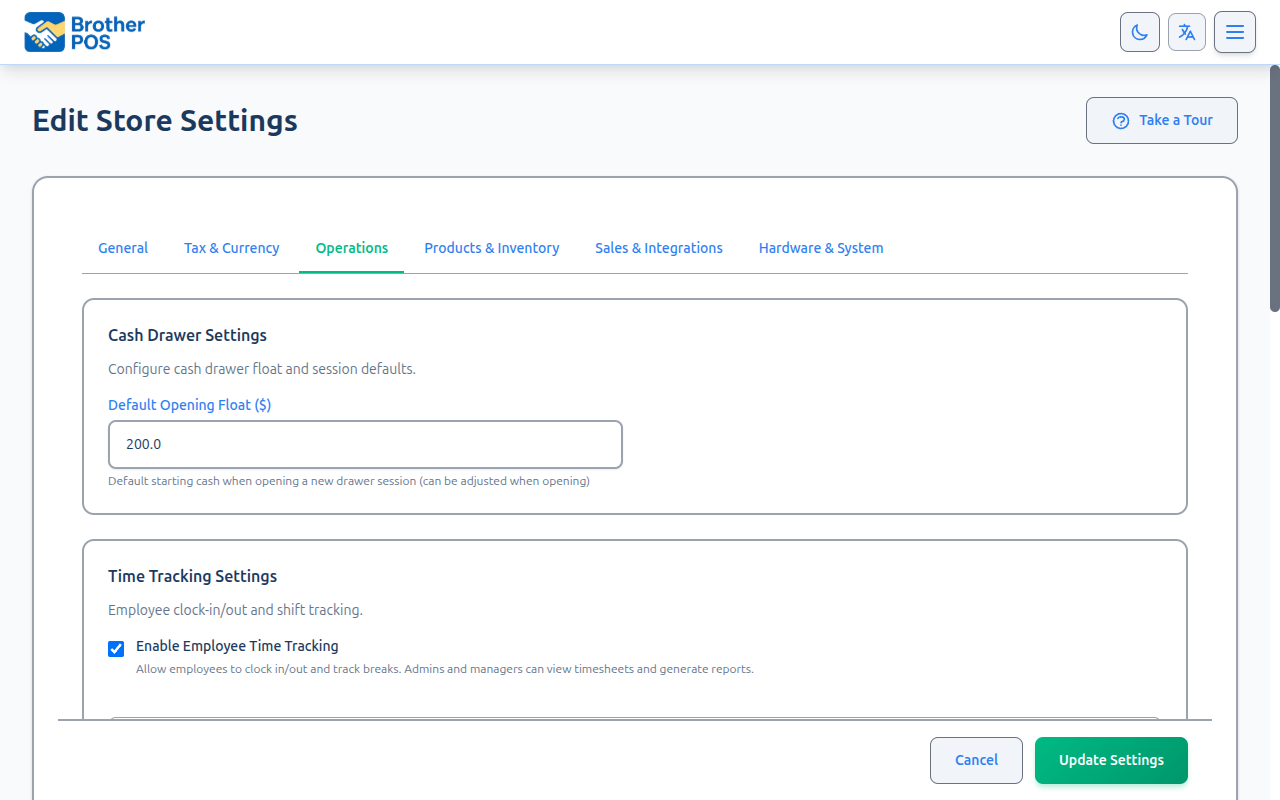
- Click Edit Settings, then click the Operations tab.
Receipt Settings
Receipt header and footer are configured on the Hardware & System tab, not the Operations tab. The only receipt display option is the Hide cashier name on receipt checkbox, which is also on the Hardware & System tab.
Auto-Print Settings
auto_print_receipts is a per-register setting configured on each register's form, not a store-wide setting. There is no "Number of Copies" setting. To configure auto-print, edit the individual register under Settings > Manage Registers.
Payment Types
Control which payment methods are available on the POS register. Only enabled payment methods appear as buttons on the payment screen.
Configuring Payment Types
- In the Operations tab, scroll to the Payment Types section.
- Toggle each payment method on or off:
| Setting | Default | Description |
|---|---|---|
| Enable Cash Payments | On | Show the CASH button on the POS payment screen. |
| Enable Debit Payments | On | Show the DEBIT button on the POS payment screen. |
| Enable E-Transfer Payments | On | Show the E-TRANSFER button on the POS payment screen. |
| Enable Store Credit Payments | Off | Show the STORE CREDIT button on the POS payment screen. |
| Enable Gift Card Payments | Off | Show the GIFT CARD button on the POS payment screen. |
| Enable House Account / Charge Account Payments | Off | Show the HOUSE ACCOUNT button for B2B charge accounts. |
- Click Save.
Changes take effect on the next transaction. Cashiers do not need to refresh or restart the POS.
Store Credit Payments
When Enable Store Credit Payments is turned on, a STORE CREDIT button appears alongside the other payment methods on the register. This allows cashiers to apply a customer's pre-loaded store credit balance toward a purchase.
Before enabling this option, make sure your store has store credits set up and issued to customers. Credits are managed from the Store Credits admin page -- see Store Credits (Admin) for details.
For the cashier-facing payment flow, see Completing Payment and Store Credits (POS).
Before rolling out store credit payments to all cashiers, enable the setting and do a test transaction with a small credit to confirm the flow works as expected with your store's configuration.
Session Settings
Opening Float
Set the default opening float amount:
- Enter the standard float amount in the Default Opening Float field (e.g., $200.00).
- When a manager opens a new cash drawer session, this amount is pre-filled but can be adjusted.
Cash count is always required when closing a register session. There is no toggle to disable this -- managers must enter a physical cash count when closing a register session, and the count is compared against the expected amount.
Saving Changes
After modifying any settings:
- Scroll to the bottom of the page.
- Click Save.
- Changes take effect immediately.
Common Questions
Can I preview how a receipt will look? Yes. After saving your receipt settings, go to Hardware > Receipt Printers and use the Test Print function to print a sample receipt with your current settings.
Do order numbers carry across multiple registers? Yes. Order numbering is global for your store. All registers share the same sequential counter, so you will never have duplicate order numbers regardless of which register processes the sale.
What's Next?
- General Settings -- Update your store name, address, and timezone.
- Tax Configuration -- Configure your tax rates.
- Product Display -- Control which product fields appear in the POS.
- Receipt Printers -- Set up and test your receipt printer.