Registers
Registers in Brother POS represent physical point-of-sale stations in your store. Each register has a name, can be assigned to a device, and tracks its own cash drawer sessions independently. Multi-register stores need this configuration to properly manage cash accountability and reporting.
Accessing Register Settings
- Log in to the Admin Panel.
- Click Settings in the top navigation bar.
- Click the Manage Registers link, or navigate to Cash Drawers and click Manage Registers at the top of the page.
Why Named Registers Matter
Named registers provide:
- Cash accountability -- Each register has its own cash drawer session. When a variance occurs, you know exactly which register is affected.
- Reporting clarity -- End of Day reports and Z-Reports are tied to specific registers, making reconciliation straightforward.
- Staff tracking -- You can see which cashier was working on which register at any given time.
- Hardware mapping -- Printers and cash drawers can be associated with specific registers.
If your store has only one register, you still have a default register. You can rename it to something meaningful (e.g., "Main Register" or "Front Counter") but no additional configuration is required.
Creating a Register
- Navigate to the Registers page (accessible from the Settings or Cash Drawers page).
- Click the Add Register button.
- Enter the Register Name (e.g., "Register 1", "Front Counter", "Express Lane").
- Click Save.
Naming Conventions
Choose names that are meaningful to your staff:
| Approach | Examples |
|---|---|
| Numbered | Register 1, Register 2, Register 3 |
| Location-based | Front Counter, Back Counter, Drive-Through |
| Function-based | Main Register, Express Lane, Online Pickup |
Pick a naming convention and stick with it. Staff learn the names quickly and will use them when discussing cash discrepancies or shift handoffs.
Editing a Register
- Navigate to the Registers page (accessible from the Settings or Cash Drawers page).
- Find the register you want to edit.
- Click the Edit button (pencil icon).
- Update the register name or other settings.
- Click Save.
If a register has an active cash drawer session, you can still edit its name. The session will continue under the new name. However, avoid renaming registers during business hours to prevent confusion.
Deleting a Register
- Navigate to the Registers page (accessible from the Settings or Cash Drawers page).
- Find the register you want to remove.
- Click the Delete button (trash icon).
- Confirm the deletion.
Registers that have been used (have cash drawer sessions) cannot be deleted. The delete button is available but will fail with an error if sessions exist. Only registers with no session history can be removed. Historical data (past sessions, Z-Reports) associated with a register is always preserved in reports.
Assigning a Register to a Device
When a cashier logs into the POS on a specific device, they select which register they are working on. This associates the device with the register for the duration of the session.
Per-Register Configuration
Each register has its own printer and payment terminal settings:
- Receipt printer IP and port -- Configure a specific receipt printer for each register.
- Auto-print receipts -- Enable or disable automatic receipt printing per register.
- Label printer settings -- Configure label printing per register.
- Payment terminal ID -- Assign a specific payment terminal for integrated card processing.
These settings are configured on each register's edit form.
How It Works
- A cashier opens the POS at
storename.brotherpos.ca/pos. - After logging in, they are prompted to select a register (if multiple registers exist).
- The selected register is remembered on that device for subsequent logins.
- All sales processed on that device are attributed to the selected register.
Changing the Register on a Device
If a device needs to switch to a different register (e.g., a tablet moved from front counter to back counter):
- The current cash drawer session must be closed first.
- The cashier logs out of the POS.
- Upon logging back in, they select the new register.
- A new cash drawer session is opened on the new register.
Register and Cash Drawer Sessions
Each register can have one active cash drawer session at a time. The session lifecycle is:
- Open -- A manager opens the session with a starting float.
- Active -- Sales are processed, cash drops and payouts are recorded.
- Takeover (optional) -- Another manager takes over the session mid-shift.
- Close -- A manager counts the cash and closes the session. A Z-Report is generated.
For details on managing sessions, see Cash Drawer Sessions.
Multi-Register Best Practices
Starting the Day
- Open a cash drawer session on each register before business begins.
- Verify the opening float matches the physical cash in each drawer.
- Assign each register to the correct device.
During the Day
- Each register processes its own sales independently.
- Cash drops and payouts are recorded per register.
- If a register needs to be temporarily closed (e.g., slow period), close the session. You can open a new session later.
Closing the Day
- Close each register session individually.
- Count each drawer separately.
- Generate Z-Reports for each register.
- Generate the End of Day Report for the consolidated daily summary.
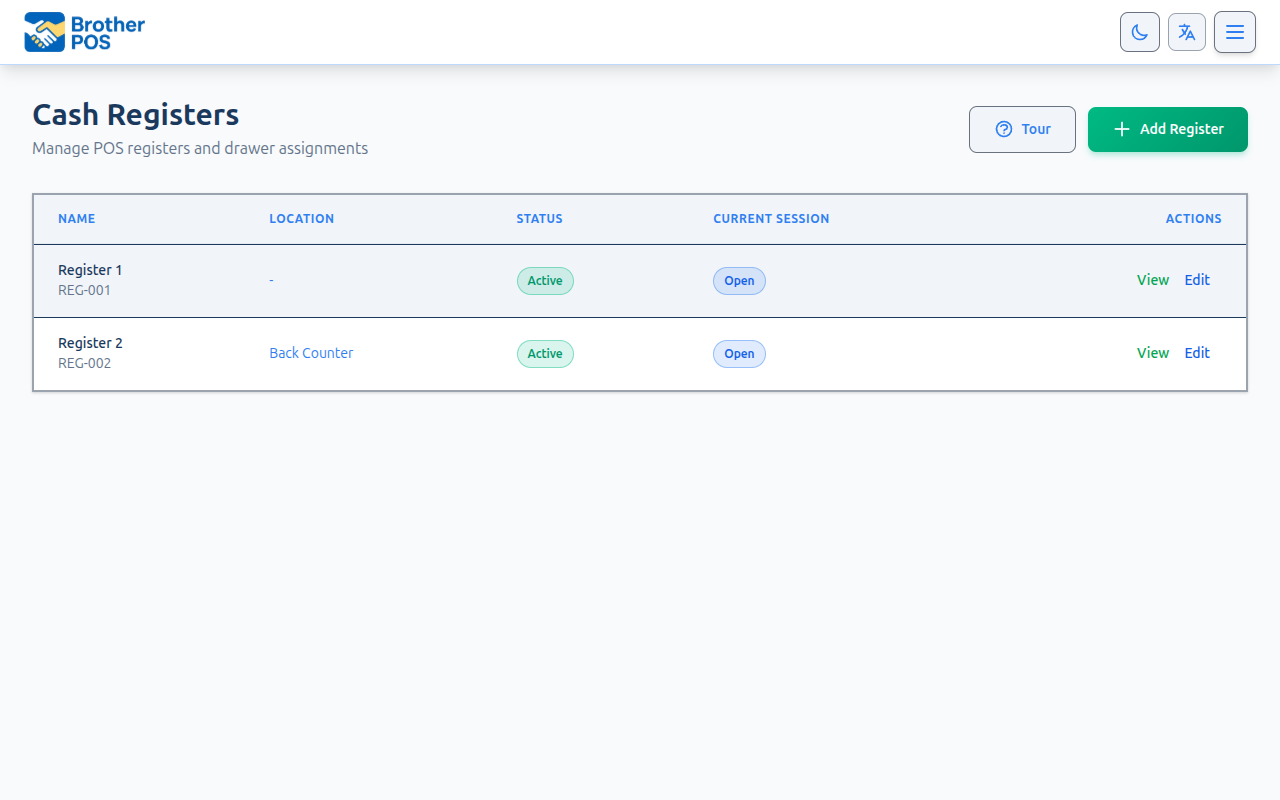
Register Status Overview
The Registers page shows a summary of each register's current status:
| Status | Meaning |
|---|---|
| Open | An active cash drawer session is running |
| Closed | No active session; register is not in use |
| Last Session | Date and time of the most recent session |
| Last Closed By | The manager who last closed the session |
Common Questions
How many registers can I have? There is no hard limit on the number of registers. Create as many as your store needs.
Can two devices use the same register? It is not recommended. Each register should be associated with one physical station and one cash drawer. If two devices share a register, cash accountability becomes impossible to maintain.
Do I need a separate receipt printer for each register? Not necessarily. Multiple registers can share a network printer. However, for speed and convenience, one printer per register is recommended. See Receipt Printers for setup.
What happens if I do not set up registers? Brother POS creates a default register automatically. All sales and sessions will be attributed to this default register. You can rename it but single-register stores do not need additional configuration.
What's Next?
- Cash Drawer Sessions -- Learn how to open, manage, and close register sessions.
- Receipt Printers -- Set up printers for each register.
- Cash Drawers -- Connect cash drawers to your registers.
- Operations -- Configure receipt and order numbering settings.