Receipt Printers
Brother POS supports network-connected ESC/POS receipt printers for printing customer receipts, Z-Reports, and cash drop confirmations. This guide covers printer selection, network configuration, and testing.
Supported Printers
Recommended
| Printer | Connection | Paper Width | Notes |
|---|---|---|---|
| Epson TM-m30II | Ethernet / Wi-Fi | 80mm | Recommended. Reliable, fast, excellent compatibility. |
| Epson TM-T20III | Ethernet / USB | 80mm | Budget-friendly option with strong ESC/POS support. |
| Epson TM-T88VI | Ethernet / Wi-Fi / USB | 80mm | Premium model with faster print speed. |
Also Compatible
| Printer | Connection | Notes |
|---|---|---|
| Star TSP100 series | Ethernet / USB | Supported via raster (graphic mode) printing. Auto-detected -- no special configuration needed. |
| Star TSP143IV | Ethernet / CloudPRNT | CloudPRNT support for cloud-based printing. |
| Star mC-Print3 | Ethernet / Wi-Fi | Multi-interface with CloudPRNT. |
| Any ESC/POS printer | Network | Must support ESC/POS command language and network printing on TCP port 9100. |
Star TSP100 series printers use a raster (graphic mode) printing protocol instead of ESC/POS text commands. On iOS/Android (Capacitor-based POS), Star printers are discovered and connected through the POS register's Star Printer Settings panel — they support Bluetooth and LAN discovery. On web POS, Star printers can be configured as network printers via the admin Printers page. Receipts for Star printers are rendered as graphics via the Star raster service for crisp output.
For the smoothest experience, choose the Epson TM-m30II. It has been extensively tested with Brother POS and provides the best combination of reliability, speed, and print quality. If budget is a concern, the TM-T20III is a solid alternative.
Network Connection Requirements
Brother POS communicates with receipt printers over your local network using TCP port 9100. For this to work:
- The printer must be connected to the same network as the device running the POS.
- The printer must have a static IP address (or a DHCP reservation so the IP does not change).
- Port 9100 must not be blocked by a firewall.
Ethernet connections are more reliable than Wi-Fi for receipt printers. A momentary Wi-Fi dropout during printing can cause a failed or partial print. If possible, connect your receipt printer via Ethernet cable.
Setting Up a Receipt Printer
Step 1: Connect the Printer to Your Network
- Connect the printer to your router or switch using an Ethernet cable (or configure Wi-Fi through the printer's setup utility).
- Power on the printer.
- Print a network status page (usually by holding the feed button while powering on -- check your printer's manual for the exact procedure).
- Note the printer's IP address from the status page.
Step 2: Set a Static IP Address
To prevent the printer's IP from changing (which would break the connection):
- Log in to your router's admin panel.
- Find the DHCP reservation or static lease settings.
- Add a reservation for the printer's MAC address (found on the network status page).
- Assign a static IP (e.g.,
192.168.1.200). - Restart the printer to pick up the new IP.
Alternatively, set a static IP directly on the printer through its web interface or configuration utility (varies by printer model).
Step 3: Configure in Brother POS
- Log in to the Admin Panel.
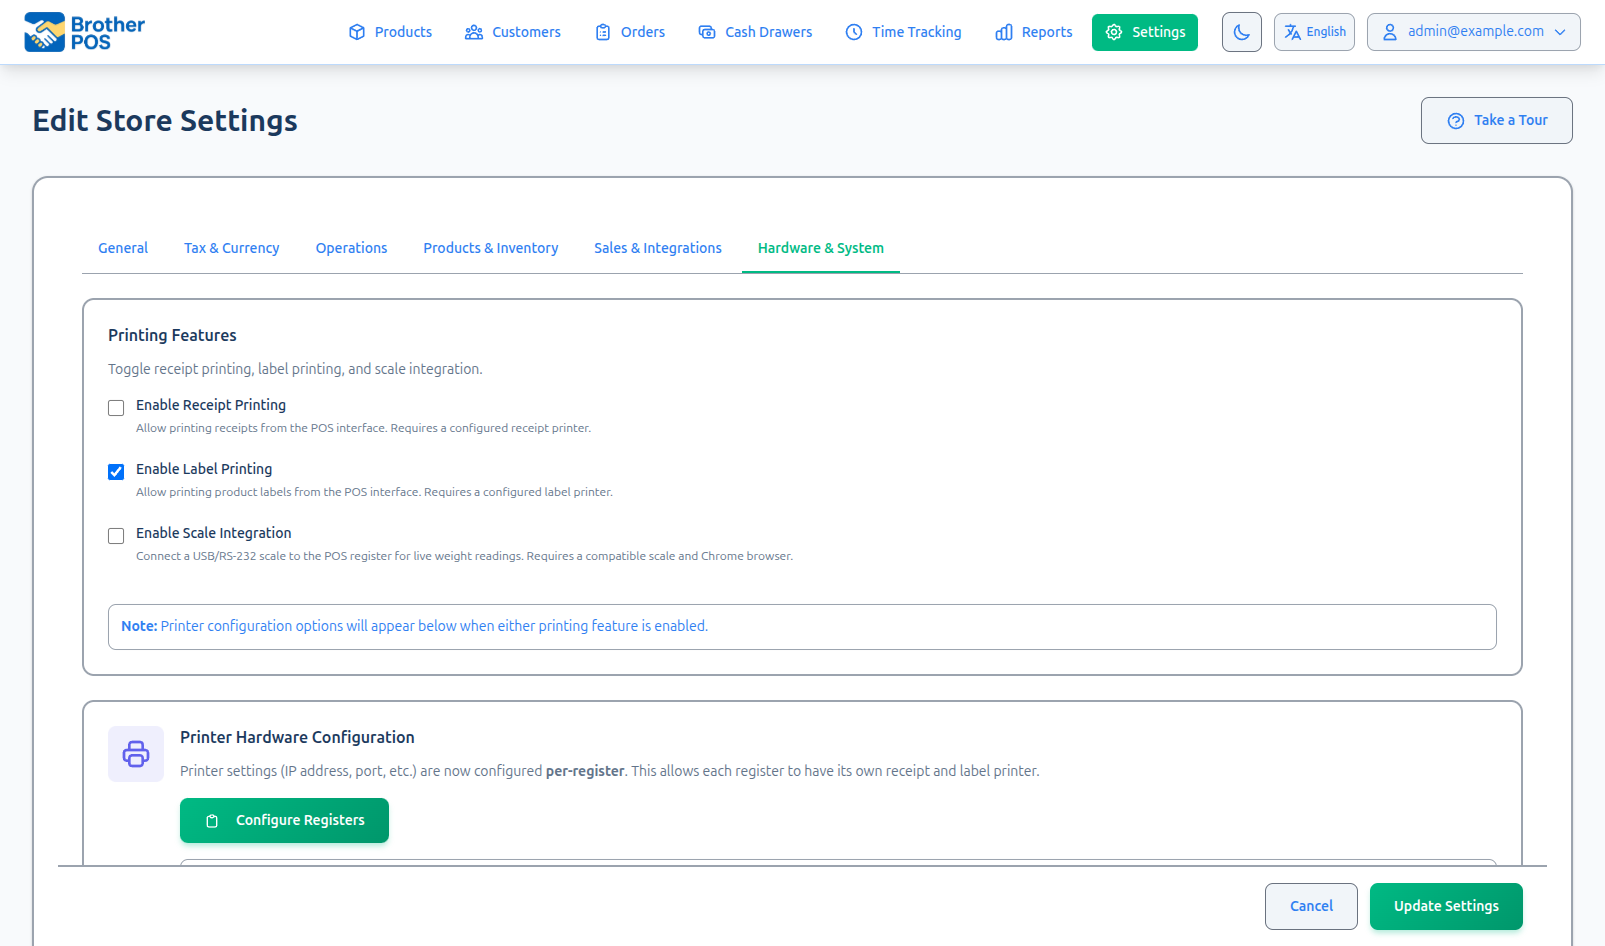
- Navigate to the Printers page at
/printers(this page is not in the main navigation — access it directly by URL, or through the Hardware & System settings tab links). - Click Add Receipt Printer.
- Enter the following:
- Printer Name -- A descriptive name (e.g., "Front Counter Printer").
- Printer Type -- Select "Receipt Printer".
- IP Address -- The static IP address of the printer (e.g.,
192.168.1.200). - Port --
9100(standard for ESC/POS network printing). - Enabled -- Check to activate the printer.
- Click Save.
Step 4: Test Print
- After saving, click the Test Print button.
- The printer should print "PRINTER TEST" followed by a confirmation message and the current date/time.
- If the test print succeeds, your printer is ready.
Configuring for Multiple Registers
If your store has multiple registers, each register can have its own receipt printer:
- Set up each printer with a unique static IP address.
- Add each printer on the Printers page (
/printers) with a descriptive name. - Assign each printer to its register under Settings > Manage Registers (each register has a receipt printer and label printer dropdown).
Alternatively, multiple registers can share a single printer if they are close together. However, shared printers may cause brief delays during busy periods.
Receipt Printer Settings
Paper Width
| Width | Use Case |
|---|---|
| 80mm | Standard for most receipt printers. Recommended. |
| 58mm | Compact printers. Less common. Narrower receipts with shorter lines. |
Print Speed
Print speed is determined by the printer hardware and cannot be adjusted in Brother POS. The Epson TM-m30II prints at approximately 250mm/second, which is fast enough that customers will not notice a delay.
Logo Printing
To print your store logo on receipts:
- Upload your logo in General Settings.
- The logo is automatically sent to the printer at the start of each receipt.
Not all printers support logo printing at the same quality level. The Epson TM-m30II and TM-T88VI handle logos well. Cheaper models may produce a lower-quality logo or not support logos at all. If your logo does not print correctly, try converting it to a smaller, monochrome image.
Star CloudPRNT Setup
Star CloudPRNT printers use a different communication method. Instead of Brother POS sending print jobs to the printer, the printer polls Brother POS for new jobs.
Configuration
- Access the Star printer's web interface (enter the printer's IP address in a browser).
- Navigate to the CloudPRNT settings page.
- Set the Server URL to the URL shown in your Brother POS printer configuration page.
- Set the Polling Interval to 3 seconds.
- Save and restart the printer.
Testing
After configuration, process a test sale in the POS. The receipt should print within a few seconds.
USB Printers (via Printer Bridge)
If your receipt printer connects via USB rather than network, you need the Printer Bridge utility. The bridge runs on a Windows computer and translates network print commands into USB print commands.
See Printer Bridge for the full setup guide.
Troubleshooting
Printer Does Not Print
- Check power -- Is the printer powered on and the ready light solid?
- Check network -- Can you reach the printer's IP address? Open a terminal and run
ping 192.168.1.200(use your printer's IP). - Check paper -- Is there paper loaded? Is the cover closed securely?
- Check port -- Verify port 9100 is configured correctly in Brother POS.
- Check IP -- Has the printer's IP changed? Print a network status page to verify.
Partial or Garbled Print
- Verify the paper width setting matches your actual paper width.
- Ensure the printer model supports ESC/POS commands.
- Try a test print from the admin panel to isolate whether the issue is with the POS or the printer.
Slow Printing
- Switch from Wi-Fi to Ethernet if possible.
- Check for network congestion on your local network.
- Verify no other device is sending large jobs to the same printer.
If the printer goes offline during a sale, the sale is still completed and saved. The receipt can be reprinted from the sale history once the printer is back online. A missing receipt does not mean a lost sale.
Common Questions
Do I need to install printer drivers? No. Brother POS communicates directly with the printer over the network using the ESC/POS protocol. No drivers are needed on the POS device.
Can I print to a regular office printer? Brother POS receipt printing is designed for ESC/POS thermal printers. For standard-paper reports (like the End of Day report), use your browser's built-in print function.
What's Next?
- Label Printers -- Set up label printers for product labels.
- Cash Drawers -- Connect a cash drawer to your receipt printer.
- Printer Bridge -- Set up the USB-to-network bridge for USB printers.
- Operations Settings -- Configure auto-print and receipt content.