Label Printers
Brother POS supports network-connected label printers for printing product labels with barcodes, pricing, and product information. Label printing is an optional feature controlled by a feature flag.
Prerequisites
Before setting up a label printer:
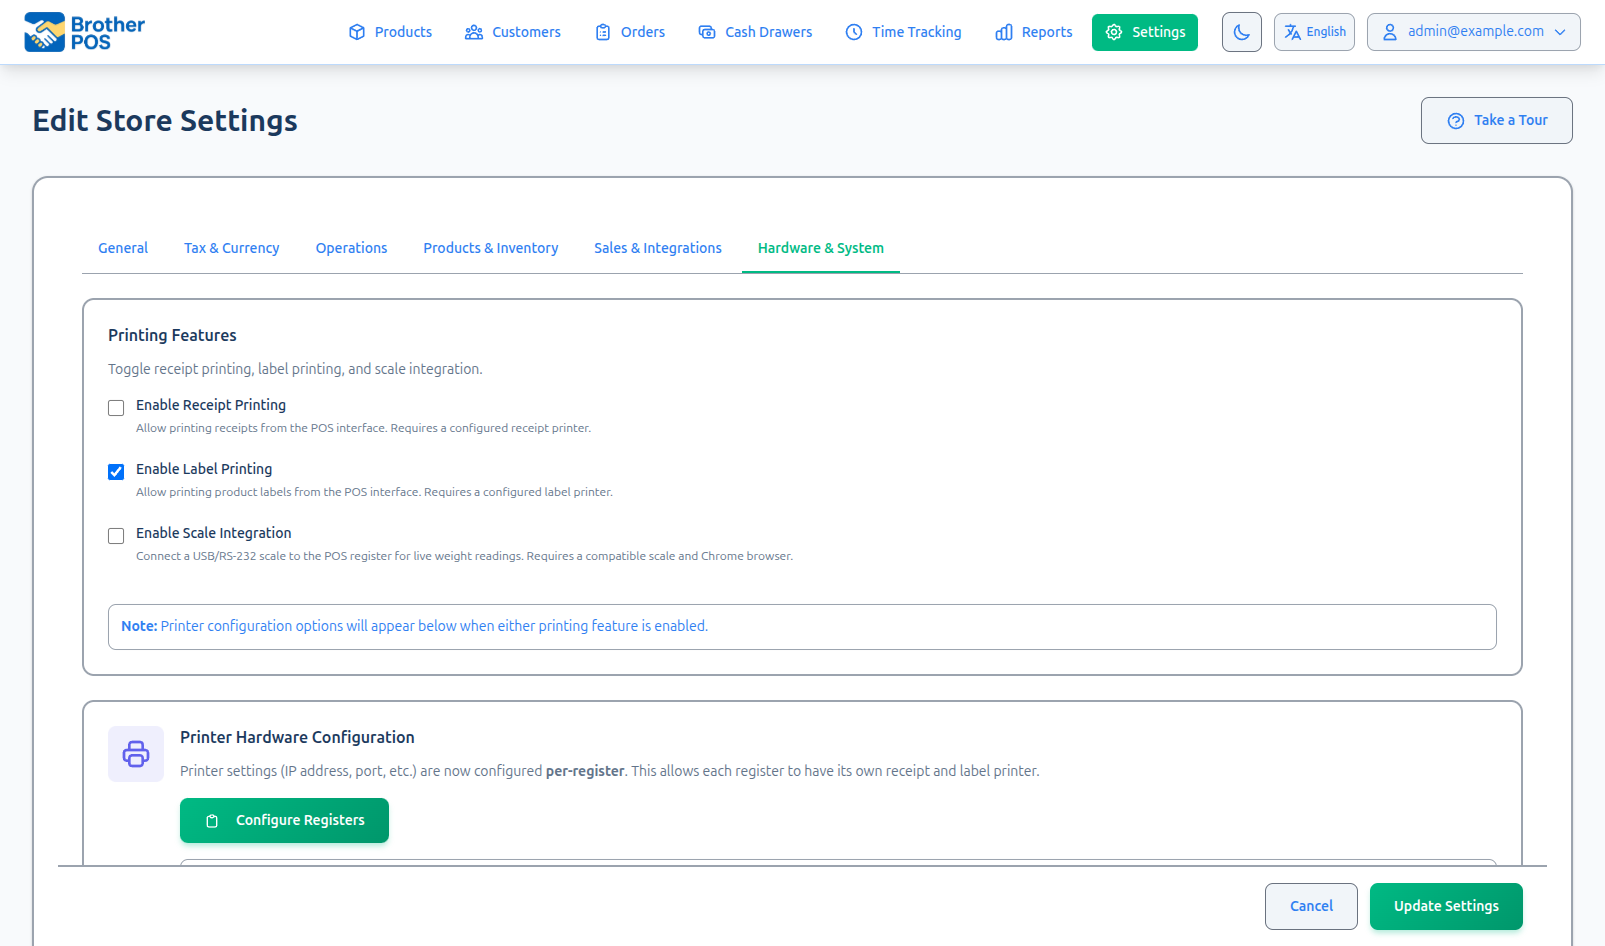
- Enable the Label Printing feature flag under Settings > Edit Settings > Hardware & System tab.
- Ensure your label printer supports one of the following formats: ZPL (Zebra), TSPL (Munbyn), ESC/POS (Generic), Dymo, or Brother native formats.
- Connect the printer to your local network.
Supported Printers
| Printer | Language | Connection | Label Width |
|---|---|---|---|
| Zebra ZD220 | ZPL | Ethernet / USB | 1" - 4" |
| Zebra ZD421 | ZPL | Ethernet / Wi-Fi / USB | 1" - 4" |
| Zebra GK420t | ZPL | Ethernet / USB | 1" - 4" |
| Zebra ZT230 | ZPL | Ethernet | 1" - 4" |
| Munbyn | TSPL | Ethernet / USB | Varies |
| Dymo | Dymo native | USB | Varies |
| Brother | Brother native | USB / Network | Varies |
| Any ESC/POS label printer | ESC/POS | Network | Varies |
The Zebra ZD421 is a good all-around choice for dispensaries. It is compact, supports multiple label sizes, and offers both Ethernet and Wi-Fi connectivity. For budget setups, the Zebra ZD220 provides basic ZPL support at a lower price.
Network Setup
Label printers communicate over your local network.
Step 1: Connect to Network
- Connect the label printer to your router or switch via Ethernet cable.
- Power on the printer.
- Print a configuration page (usually by holding a button during power-on -- see your printer's manual).
- Note the printer's IP address.
Step 2: Set a Static IP
- Access your router's admin panel.
- Create a DHCP reservation for the label printer's MAC address.
- Assign a static IP (e.g.,
192.168.1.201). - Restart the printer.
Step 3: Configure in Brother POS
- Log in to the Admin Panel.
- Navigate to the Printers page at
/printers(this page is not in the main navigation — access it directly by URL). Receipt and label printers are managed on the same page. - Click Add Label Printer.
- Enter:
- Printer Name -- A descriptive name (e.g., "Back Office Label Printer").
- Printer Type -- Should auto-select "Label Printer".
- IP Address -- The static IP of the printer.
- Port -- Use the default value provided by Brother POS (typically 9100; 9101 if using Printer Bridge).
- Label Printer Type -- Select from: Generic ESC/POS, Munbyn TSPL, Zebra ZPL, Dymo, or Brother.
- Enabled -- Check to activate the printer.
- Click Save.
Step 4: Test Print
- Click the Test Print button.
- The printer should produce a test label with your store name and a sample barcode.
- If the label prints correctly, your printer is ready.
If your label printer connects via USB, you need the Printer Bridge utility running on a Windows PC. The bridge exposes the USB printer over the network for Brother POS to communicate with.
Configure your label printer as a Printer record on the /printers page. The label print path prefers a configured Printer record (and its bridge IP/port) over the older Store-level label printer settings. Relying on the Store-level "label printer enabled" flag with blank IP fields can make some print paths (for example, loyalty card printing) report "Label printer not enabled" even when product labels print fine.
On cloud-hosted Brother POS, the server cannot reach a Printer Bridge on the customer's localhost. Admin loyalty card printing and non-Zebra Bluetooth printers therefore relay print commands through the browser to the local bridge. See Printer Bridge for details.
Bluetooth Label Printing (iPad App)
Stores running the TrafficStores iPad app (Capacitor build) can pair a Zebra Bluetooth label printer directly to the iPad — no network setup, no Printer Bridge, no static IP. This is the recommended setup for mobile or counter-only deployments where running an Ethernet drop to the label printer isn't practical.
One-time pairing
- Power on the Zebra BT printer and put it into pairing mode (consult the printer's manual — usually a 3-second press on the Bluetooth button until the indicator flashes blue).
- On the iPad: open Settings > Bluetooth and tap the printer name when it appears in the list. The printer should show as Connected.
- Open the TrafficStores app and sign into the POS.
- From the POS, tap your user avatar > Printer Settings (or open Admin > Settings > Hardware if you're an admin) and select the paired Zebra printer under Label Printer.
- Tap Test Print — a sample label should print within a second or two.
Auto-reconnect on app launch
Every time the iPad app starts, it silently re-establishes the Bluetooth link to the last-paired Zebra printer. You should not need to touch printer settings between sessions. If a label print returns a 422 "printer not connected" error the first time after a fresh install, force-close the app and reopen it to trigger the auto-reconnect.
When admin label prints are used
Label print actions triggered from admin pages (Products list > Print Labels, Quick Add > Print Labels) inside the iPad app route through the same Bluetooth path. You do not need a network printer configured to print product labels from the iPad.
The Bluetooth path requires the native iPad Capacitor app. Browser-based access (Safari, Chrome on iPadOS) cannot reach Bluetooth printers and will need a network printer instead.
Label Templates
Label templates control the layout and content of your printed labels.
Default Template
Brother POS includes a default label template that includes:
- Product name
- Price
- Barcode (generated from the product SKU)
- Category name
- THC/CBD percentages (if cannabis features are enabled)
- Weight (for weight-based products)
Customizing Label Templates
You can create and edit label templates at /label_templates, accessible from the Products page dropdown.
Configurable options include:
| Element | Configurable? | Notes |
|---|---|---|
| Product Name | Yes | Font size and position |
| Price | Yes | Font size and position |
| Barcode | Yes | Type (Code 128, EAN-13, UPC-A) and position |
| SKU | Yes | Show/hide, font size |
| Category | Yes | Show/hide |
| THC/CBD | Yes | Show/hide (respects display settings) |
| Weight | Yes | Show/hide |
| Store Name | Yes | Show/hide |
| Custom Text | Yes | Add custom lines |
Label Dimensions
Configure label dimensions to match your physical labels:
- Measure your label stock (width x height in millimeters or inches).
- Enter the dimensions in the template settings.
- Common label sizes:
- 2" x 1" (50mm x 25mm) -- Small product labels
- 2" x 1.5" (50mm x 38mm) -- Standard dispensary labels
- 3" x 2" (76mm x 50mm) -- Larger labels with more information
- 4" x 2" (100mm x 50mm) -- Shelf labels
For barcode scanning to work at the POS, the barcode on the label must encode the product's SKU. Ensure your products have unique SKUs assigned before printing labels.
Printing Labels
From the Product List
- Navigate to Products in the admin panel.
- Select the product(s) you want to print labels for.
- Click Print Labels.
- Set the quantity (number of labels per product).
- Select the template to use.
- Click Print.
From the POS
If label printing is enabled in the POS:
- Find the product in the POS catalog.
- Open the product detail view.
- Tap Print Label.
- The label prints on the configured label printer.
Bulk Printing
For printing labels for multiple products at once:
- Go to Products in the admin panel.
- Use the checkboxes to select multiple products.
- Click Print Labels in the bulk actions menu.
- Set the quantity per product.
- Click Print.
Label Printer Maintenance
Paper Loading
- Open the printer cover.
- Load the label roll with labels facing up.
- Thread the label stock through the guides.
- Close the cover and press the feed button to advance to the first label.
Calibration
If labels are printing misaligned or the printer is skipping labels:
- Power off the printer.
- Hold the feed button while powering on (this starts auto-calibration on most Zebra printers).
- The printer will feed several labels to detect the label size.
- Once calibration is complete, print a test label to verify alignment.
Print Head Cleaning
If labels appear faded or have streaks:
- Power off the printer and open the cover.
- Clean the print head with an isopropyl alcohol wipe.
- Allow to dry for 30 seconds.
- Close the cover and power on.
- Print a test label to verify quality.
Troubleshooting
Labels Not Printing
- Check power and status lights on the printer.
- Verify network connection -- ping the printer's IP address.
- Check paper -- ensure labels are loaded and the cover is fully closed.
- Verify port -- confirm the correct port (9100 or 9101) in Brother POS.
Barcode Not Scanning
- Check SKU -- ensure the product has a SKU assigned.
- Check barcode type -- verify the barcode format in the template matches your scanner's supported formats.
- Check print quality -- a faded or streaked barcode will not scan. Clean the print head.
Label Alignment Issues
- Run the printer's auto-calibration (feed button hold during power-on).
- Verify label dimensions in the template match your physical label stock.
- Ensure the label roll is loaded straight and not skewed.
What's Next?
- Receipt Printers -- Set up your receipt printer.
- Printer Bridge -- Bridge USB printers to the network.
- Label Templates -- Create and customize label layouts.
- Product Management -- Set up SKUs for barcode printing.