Barcode Scanners
Use this page to plug in a USB or Bluetooth barcode scanner so cashiers can scan products instead of searching for them. No drivers or software are needed.
Quick steps
- Plug the scanner into a USB port on the register device (or pair a Bluetooth scanner in the device's Bluetooth settings). It beeps or lights up.
- Check it types: open Notepad (or any text editor) and scan a barcode. The code should appear as text.
- Open the register and make sure no text box other than product search is selected.
- Scan a product. It's added to the cart with a quantity of 1. Scan again to add another.
- If nothing happens, check the product has that code in its Barcode or SKU on the product's Details tab. The easy way: click in the Barcode field and scan the package.
Common questions
I scanned something and "Unrecognized barcode" came up. No product has that code yet. Staff with the Manage Products permission can search for the right product and click Attach, so it scans next time.
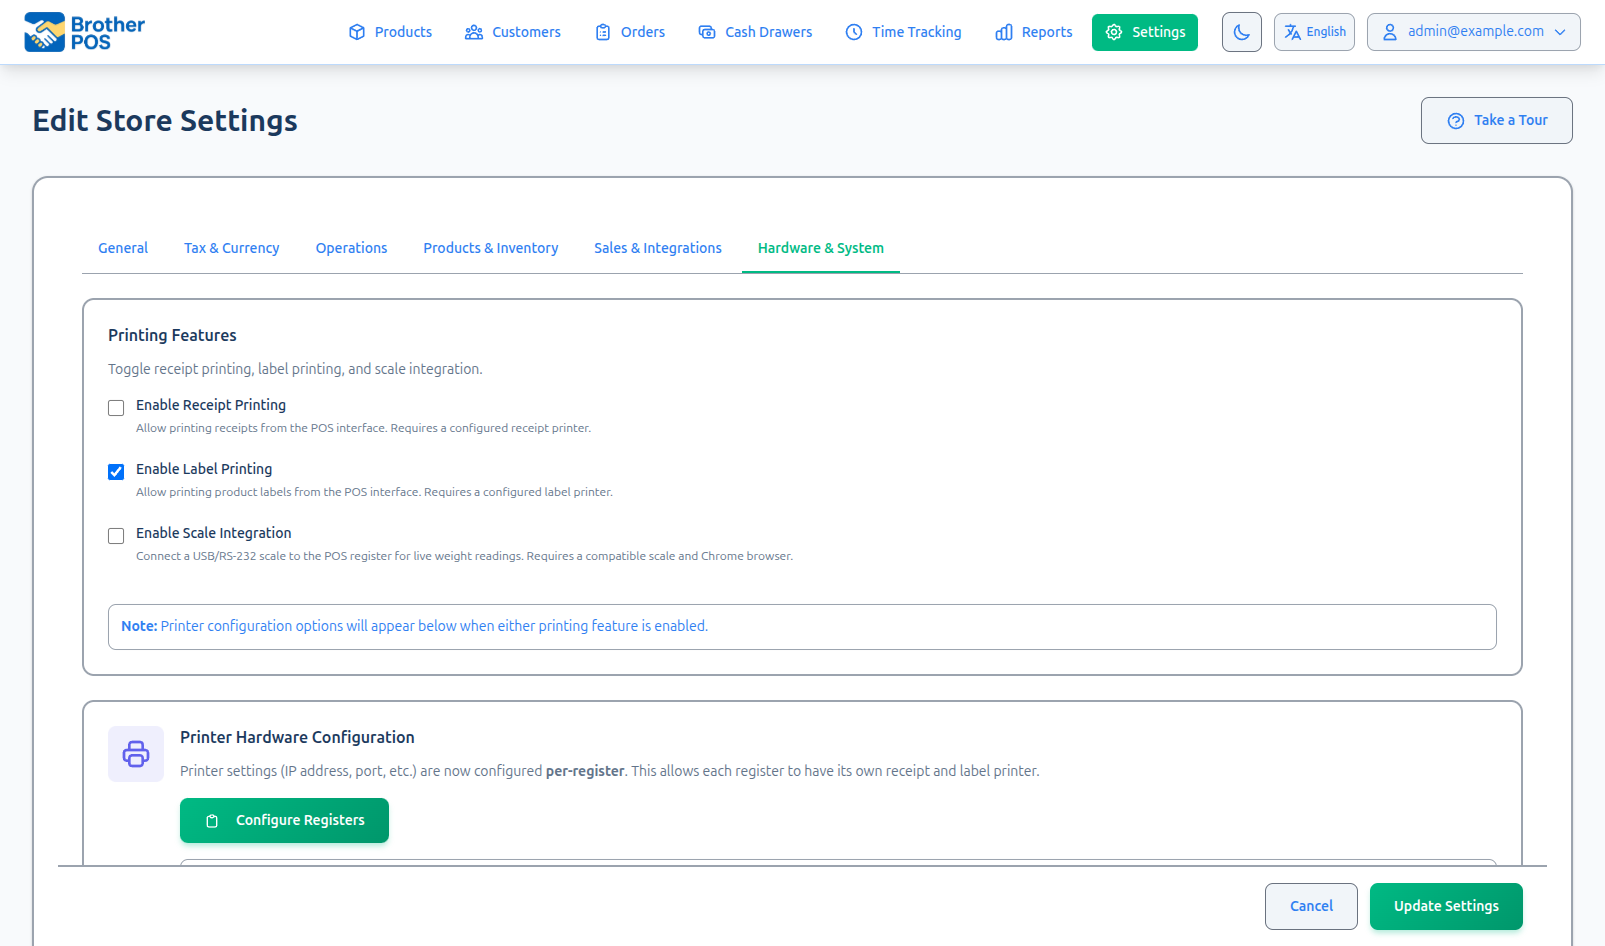
Can I scan with a tablet's camera? Yes, in the Brother POS iPad and Android app. Turn on Enable Camera Scanning under Settings → Edit Settings → Hardware & System (in the Camera Barcode Scanning section). A camera-scan button then appears at the register and in customer lookup. Camera scanning isn't available when the register runs in a web browser.
What about terminals with a built-in scanner? The Brother POS app supports the built-in scanners on Zebra Android terminals and the PAX A920 Pro. For other tablets and computers, use a USB or Bluetooth scanner.
Some short codes don't scan. Codes shorter than 8 characters aren't picked up as scans. Give those products a longer barcode, or search for them by name.
Do I need a scanner for every register? It's best to. Each register with its own scanner keeps checkout moving, and scanners are inexpensive.
More detail: how scanning works, and which scanners work
How Barcode Scanning Works in Brother POS
- A cashier scans a product barcode at the register.
- The scanner types the code, very quickly, followed by Enter — just as if it were typed on a keyboard.
- Brother POS looks for a product whose Barcode, SKU or barcode alias matches.
- If it finds one, the product is added to the cart with a quantity of 1.
- Scanning the same product again adds one more.
Products that need a choice, such as a weight, variation or modifiers, open a picker instead so the cashier can choose.
Keyboard-mode scanners behave like a keyboard, so no drivers or special software are needed. They work on Windows, macOS, Linux and Chromebook.
Supported Scanners
Any scanner that works in keyboard mode (also called keyboard wedge or HID mode) will work. Most commercial barcode scanners do.
Example Scanners
| Scanner | Type | Connection | Notes |
|---|---|---|---|
| Zebra DS2208 | 1D/2D imager | USB | Reads 1D and 2D barcodes. |
| Honeywell Voyager 1200g | 1D laser | USB | Affordable 1D scanner. |
| Honeywell Xenon 1950g | 1D/2D imager | USB | Fast, premium scanner. |
| Socket Mobile S740 | 1D/2D | Bluetooth | Wireless option for mobile scanning. |
Barcode Types
Brother POS doesn't care what type of barcode it is — only the code the scanner sends. Any barcode your scanner can read will work, as long as the code matches a product:
| Format | Common Use |
|---|---|
| Code 128 | General purpose, common on printed labels |
| EAN-13 | Retail barcodes (international) |
| UPC-A | Retail barcodes (North America) |
| QR Code | 2D codes (needs a 2D imager scanner) |
| Code 39 | Letters and numbers |
Codes shorter than 8 characters aren't picked up as product scans. Give those products a longer barcode, or search for them by name.
More detail: setup, step by step
Setup
Step 1: Plug In the Scanner
- Connect the scanner to a USB port on your register device.
- It should power on by itself (a light or a beep).
- No driver installation is needed.
Step 2: Check Keyboard Mode
Most scanners ship in keyboard mode. To check:
- Open a text editor (such as Notepad) on the register device.
- Scan a barcode.
- If the code appears as typed text, the scanner is ready.
If nothing appears, see the scanner's manual to switch to keyboard (HID) mode — usually by scanning a setup barcode.
Step 3: Test in Brother POS
- Open the POS register at
yourstore.brotherpos.ca/pos. - Make sure no text box other than product search is selected.
- Scan a product whose barcode or SKU is in your catalog.
- The product should be added to the cart.
Scanning only works when the code matches a product's Barcode or SKU, or an extra barcode added to it. These are on the Details tab of the product page, under Product Codes. The easiest way to get them right is to click in the Barcode field and scan the package.
Configuring Scanner Behavior
Enter After Each Scan
The register needs the scanner to press Enter after each code. Most scanners do this by default.
If yours doesn't:
- Find the "suffix" or "terminator" setting in the scanner's manual.
- Set it to add a carriage return (Enter) after each scan.
- This is usually done by scanning a setup barcode from the manual.
If Scans Are Missed
- Make sure the register is on the sales screen.
- Close any open window or popup, and click out of any text box other than product search.
- Leave a moment between scans of different products.
More detail: using scanners at the register
Using Barcode Scanners at the Register
Standard Workflow
- The cashier scans the product.
- It appears in the cart with quantity 1.
- For more units, scan again or change the quantity in the cart.
- Repeat for all products, then take payment as usual.
Mixed Workflow
Cashiers can switch between scanning and searching freely:
- Scan products that have barcodes.
- Search for products without barcodes by name.
- Both add to the same cart.
Unrecognized Barcodes
If a scanned code doesn't match any product, the Unrecognized barcode window opens. Staff with the Manage Products permission can search for the product the code belongs to and click Attach. The code is saved to that product, so it scans next time.
Brother POS won't let two products share the same SKU, barcode or barcode alias, so a code always leads to one product.
More detail: Bluetooth scanners
Wireless (Bluetooth) Scanners
Bluetooth scanners work like USB scanners but connect wirelessly:
- Put the scanner in pairing mode (see its manual).
- Pair it in your device's Bluetooth settings.
- Once paired, it works like a USB scanner in keyboard mode.
- Keep the scanner within range of the device — see the manual for its range.
- Keep it charged; a charging cradle at the register helps.
- If it disconnects, pair it again in Bluetooth settings.
- A scanner that sends characters slowly can be mistaken for typing. If scans are missed, move closer to the device.
More detail: printing your own barcodes
Printing Your Own Barcodes
If your products don't come with barcodes, print your own labels:
- Turn on label printing under Settings → Edit Settings → Hardware & System.
- Make sure each product has a barcode or SKU on its Details tab.
- Print labels from Products → More Actions → Print Barcode Labels, or with Barcode in a product card's ⋯ menu.
- Stick the labels on your products. They're ready to scan.
See Label Printers for printer setup.
More detail: troubleshooting
Troubleshooting
Scanner Doesn't Add Products
- Check the code — Scan into a text editor and compare with the product's Barcode and SKU.
- Check the register — Is it on the sales screen with no other text box selected?
- Check the Enter — The scanner must send Enter after the code.
- Check the length — Codes shorter than 8 characters aren't picked up as scans.
Scanner Beeps but Nothing Happens
- The scanner may be in the wrong mode (for example serial instead of keyboard). Switch to keyboard (HID) mode using the manual.
- The register window may not be in front. Click on it and scan again.
Scanner Types the Wrong Characters
- Check the scanner's keyboard layout setting matches the device's keyboard layout.
- Some scanners have a "keyboard country" setting that must match.
For more, see Scanner Issues.
What's Next?
- Label Printers — Print product labels with barcodes.
- Scales — Set up weight measurement for bulk products.
- Receipt Printers — Configure receipt printing at the register.
- Managing Products — The product page, where barcodes and SKUs are set.