Store Credits (Admin)
Store credits are pre-loaded balances on customer accounts that can be applied toward purchases at the POS register. Credits are most commonly created through returns (when a customer is refunded as store credit) or loyalty reward redemptions, but managers and admins can also issue and manage credits manually from the admin panel. This page covers all administrative store credit operations.
Enabling Store Credit Payments at the POS
Before customers can pay with store credit at the POS register, an admin must enable the Store Credit payment type in store settings:
- Navigate to Settings > Edit Settings > Operations tab.
- Scroll to the Payment Types section.
- Check the Enable Store Credit Payments checkbox.
- Click Save.
Once enabled, a STORE CREDIT button appears on the POS payment screen alongside Cash, Debit, and other payment methods. Without this setting, credits can still be issued and managed from the admin panel, but cashiers will not see the payment button on the register.
Store credit as a payment method is a newer feature. If this option does not appear in your settings, contact Brother POS support.
See Operations Settings for details on all payment type toggles.
How Store Credits Are Created
Store credits can be created through several channels:
| Source | How It Works | Who Can Do It |
|---|---|---|
| Returns | When a return is processed with "Store Credit" as the refund method, a credit is automatically created for the return amount. | Manager Admin |
| Loyalty Rewards | When a customer redeems a "Store Credit" type loyalty reward, a credit is created for the reward's specified amount. | Cashier (at POS during checkout) |
| Manual Issue | A manager or admin creates a credit directly from the admin panel. | Manager Admin |
Each store credit is assigned a unique credit code in the format SC followed by 12 uppercase hex characters (e.g., SC1A2B3C4D5E6F) that is automatically generated and used for tracking.
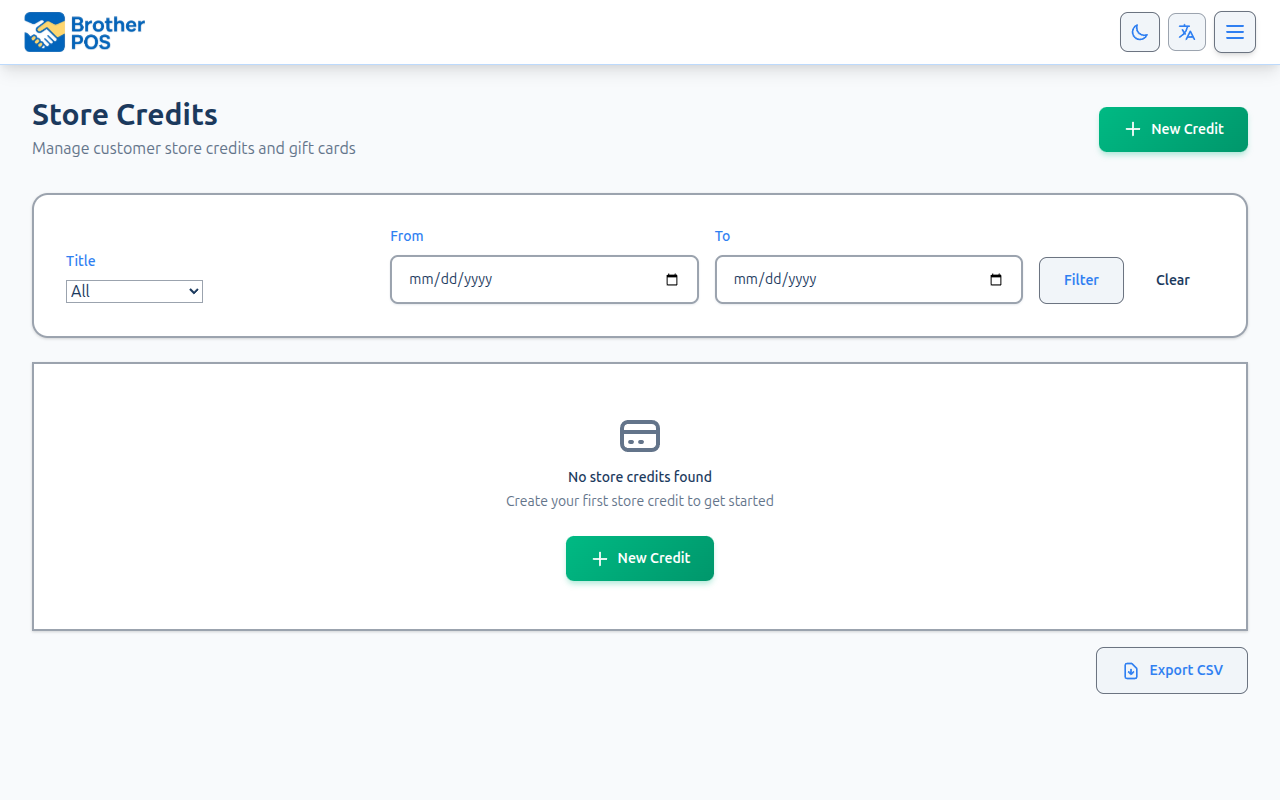
Viewing Store Credits
All Credits
- Log in to the Admin Panel.
- Navigate to the Store Credits section in the admin panel.
- You will see a list of all store credits in your system.
A CSV export button is available on the store credits index page for exporting credit data.
Credit Details
Each store credit record shows:
| Field | Description |
|---|---|
| Credit Code | Unique identifier (SC + 12 uppercase hex characters, e.g., SC1A2B3C4D5E6F) |
| Customer | The customer the credit belongs to |
| Original Amount | Value when the credit was first issued |
| Current Balance | Remaining available balance |
| Status | Active, Used, Expired, or Voided |
| Reason | Why the credit was issued (e.g., "Return refund", "Loyalty reward", "Customer satisfaction") |
| Issued By | The user who created the credit |
| Issued Date | When the credit was created |
| Expiration Date | When the credit expires (if applicable) |
| Source Return | Link to the return record (if the credit was created from a return) |
Issuing a Store Credit Manually
When to Issue Credits
Manual store credits are useful for:
- Customer satisfaction -- Compensating a customer for a bad experience, defective product, or service issue.
- Promotional credits -- Giving new customers a welcome bonus or running a credit-based promotion.
- Error correction -- Replacing a credit that was voided by mistake or compensating for a transaction error.
- Gift credits -- Allowing customers to purchase store credit as a gift for others.
Step-by-Step
-
Navigate to the Store Credits section and click New Store Credit.
-
Fill in the credit details:
Field Required Description Customer Yes Select the customer from a dropdown selector. Amount Yes Dollar amount of the credit. Must be greater than $0. Reason Yes Select a reason from the dropdown: Return, Compensation, Gift, Promotion, or Other. Expiration Date No When the credit expires. Leave blank for no expiration. Notes No Additional notes about the credit. -
Click Create.
The credit is immediately active and available for use at the POS.
In addition to selecting a reason from the dropdown, use the Notes field to provide specific context. Notes like "Return - damaged product batch #123" or "Customer satisfaction - long wait time on Feb 10" make it much easier to review credits during auditing.
Credit Statuses
Each store credit has one of four statuses:
| Status | Meaning | Can Be Used? |
|---|---|---|
| Active | Credit has a positive balance and has not expired or been voided. | Yes |
| Used | Credit balance has been fully depleted through purchases. | No |
| Expired | Credit's expiration date has passed. | No |
| Voided | Credit has been manually voided by a manager or admin. | No |
Status Transitions
Active  -->  Used     (balance reaches $0 after being applied to sales)
Active  -->  Expired  (expiration date passes)
Active  -->  Voided   (manually voided by manager/admin)
Once a credit reaches Used, Expired, or Voided status, it cannot return to Active.
Brother POS automatically checks for expired credits. When a credit's expiration date passes, it is marked as Expired and excluded from the customer's available balance. No manual intervention is needed.
Transaction History
Every time a store credit balance changes, a transaction record is created. This provides a complete audit trail for each credit.
Transaction Types
| Type | Description | Example |
|---|---|---|
| Credit | Balance added (initial creation or manual top-up) | "Store credit issued: $25.00" |
| Debit | Balance used toward a purchase | "Applied to sale #R00142: -$15.00" |
Viewing Transaction History
To view transaction history for a store credit, navigate to the Store Credits section and click on the credit you want to inspect. The transaction history table shows the following 5 columns:
| Column | Description |
|---|---|
| Date | When the transaction occurred |
| Type | Credit (balance added) or Debit (balance used) |
| Amount | Dollar amount of the change (positive for credits, negative for debits) |
| Balance | Running balance after this transaction |
| Notes | Description of the transaction |
This history is critical for resolving disputes. If a customer claims their credit balance is wrong, you can review every transaction that affected it.
Voiding a Store Credit
If a store credit needs to be invalidated -- due to fraud, a processing error, or a policy decision -- you can void it.
Step-by-Step
- Navigate to the Store Credits section and find the credit you want to void, or click on the credit to open its detail page.
- Click Void.
- Confirm the void in the confirmation dialog (yes/no). There is no separate reason text input.
What Happens When You Void
- The credit's status changes to Voided.
- The remaining balance becomes unavailable immediately.
- The void is timestamped and linked to the user who performed it.
- An activity log entry is created with the reason, marked for review.
- The credit cannot be unvoided. If the void was a mistake, you must issue a new credit.
Once a store credit is voided, it cannot be restored. The remaining balance is permanently invalidated. If you void a credit by mistake, you will need to issue a new credit for the same amount. The void and the new issuance will both appear in the audit trail.
You can void a credit that has been partially used. Only the remaining balance is affected -- the portions already applied to completed sales are not reversed. Those sales keep their original payment records.
Credits from Returns
When a manager processes a return with "Store Credit" as the refund method, the system automatically:
- Creates a new store credit for the return amount.
- Links the credit to the customer's account.
- Links the credit to the linked return record.
- Makes the credit immediately available for use.
Viewing Return-Linked Credits
Credits created from returns show:
- Source: The return number (e.g., "Return #R00042")
- Reason: Auto-populated with return details
- Amount: Matches the return's refund amount
You can click the return number to navigate to the full return record.
Credits from Loyalty Rewards
When a customer redeems a "Store Credit" type loyalty reward at the POS:
- The customer's loyalty points are deducted.
- A new store credit is created for the reward's configured amount.
- The credit is linked to the customer's account.
- The credit is immediately available -- the customer can use it on the current sale or save it.
These credits appear in the customer's credit history with a description referencing the reward (e.g., "Redeemed: $10 Store Credit Reward").
Setting Expiration Policies
When issuing credits manually, you have full control over expiration:
- No expiration -- Leave the expiration field blank. The credit remains active indefinitely until used or voided.
- Custom expiration -- Set a specific date. After that date, the credit automatically expires.
Choosing an Expiration Policy
| Approach | When to Use |
|---|---|
| No expiration | Customer satisfaction credits, return credits, error corrections |
| 30 days | Promotional credits, welcome bonuses |
| 90 days | Gift credits, seasonal promotions |
| 1 year | Standard credits from returns |
Choose a standard expiration policy for return-based credits and communicate it to customers. If customers expect their credits to last 90 days, unexpected expirations create frustration and support requests.
Common Scenarios
Customer Disputes Their Balance
- Open the customer's profile.
- Review their store credit list and click on each credit to see the transaction history.
- Walk through each debit transaction -- each one links to a specific sale with a receipt number.
- Compare the history with the customer's claim to identify any discrepancy.
Customer's Credit Expired
If a customer returns after their credit expired:
- Verify the expired credit in their profile (status: Expired, with the expiration date).
- Decide based on store policy whether to re-issue the credit.
- If re-issuing, create a new credit for the same amount with a new expiration date (or no expiration).
- Add a note referencing the original expired credit code.
Multiple Small Credits
If a customer has accumulated many small credits from multiple returns:
- All credits are combined into a single aggregate balance at the POS. The customer sees one total balance, not individual credit records.
- There is no need to consolidate them manually -- the system handles multiple credits seamlessly during checkout.
- Individual credit records are still tracked in the admin panel for auditing purposes.
Suspicious Credit Activity
If you notice unusual patterns (frequent returns for store credit, large manual credits, etc.), review the activity log for credit-related entries, check who issued each credit, and look at the customer's return history for patterns.
Audit and Compliance
All store credit operations are tracked for audit purposes:
- Credit creation -- Logged with the issuing user, amount, and reason.
- Credit usage -- Every debit transaction records the sale, user, and amount.
- Credit voiding -- Logged as a warning-level activity with the reason, requires review.
- Audit trail -- All changes to store credit records are versioned, providing a complete before/after history.
Admins can review this activity through the Activity Logs section of the admin panel.
Best Practices
- Require reasons for all credits. Make it a store policy that every store credit -- whether from returns, loyalty rewards, or manual issuance -- includes a clear reason.
- Set standard expiration periods. Credits from returns should have consistent expiration dates so customers know what to expect.
- Review credits regularly. Periodically scan the active credits list for unusually large balances, expired credits that need cleanup, or patterns that might indicate misuse.
- Limit who can issue credits. Only managers and admins can issue manual credits. This prevents unauthorized balance creation.
- Void instead of adjusting down. If a credit was issued for the wrong amount, void it and create a new one at the correct amount rather than trying to debit the difference. This creates a cleaner audit trail.
- Communicate expiration dates. If a credit has an expiration date, make sure the customer knows about it at the time of issuance.
What's Next?
- Customer Management -- View and manage customer accounts.
- Loyalty Setup -- Configure the loyalty points program.
- Rewards -- Create rewards that generate store credits.
- Store Credits (POS) -- How cashiers apply store credits at checkout.
- Returns -- Admin-side return management.