Categories & Brands
Categories and brands management is available to Admin and Manager users.
Categories and brands are the primary tools for organizing your product catalog. Well-organized categories make it faster for cashiers to find products on the POS register, and brands help with supplier management, reporting, and customer-facing displays.
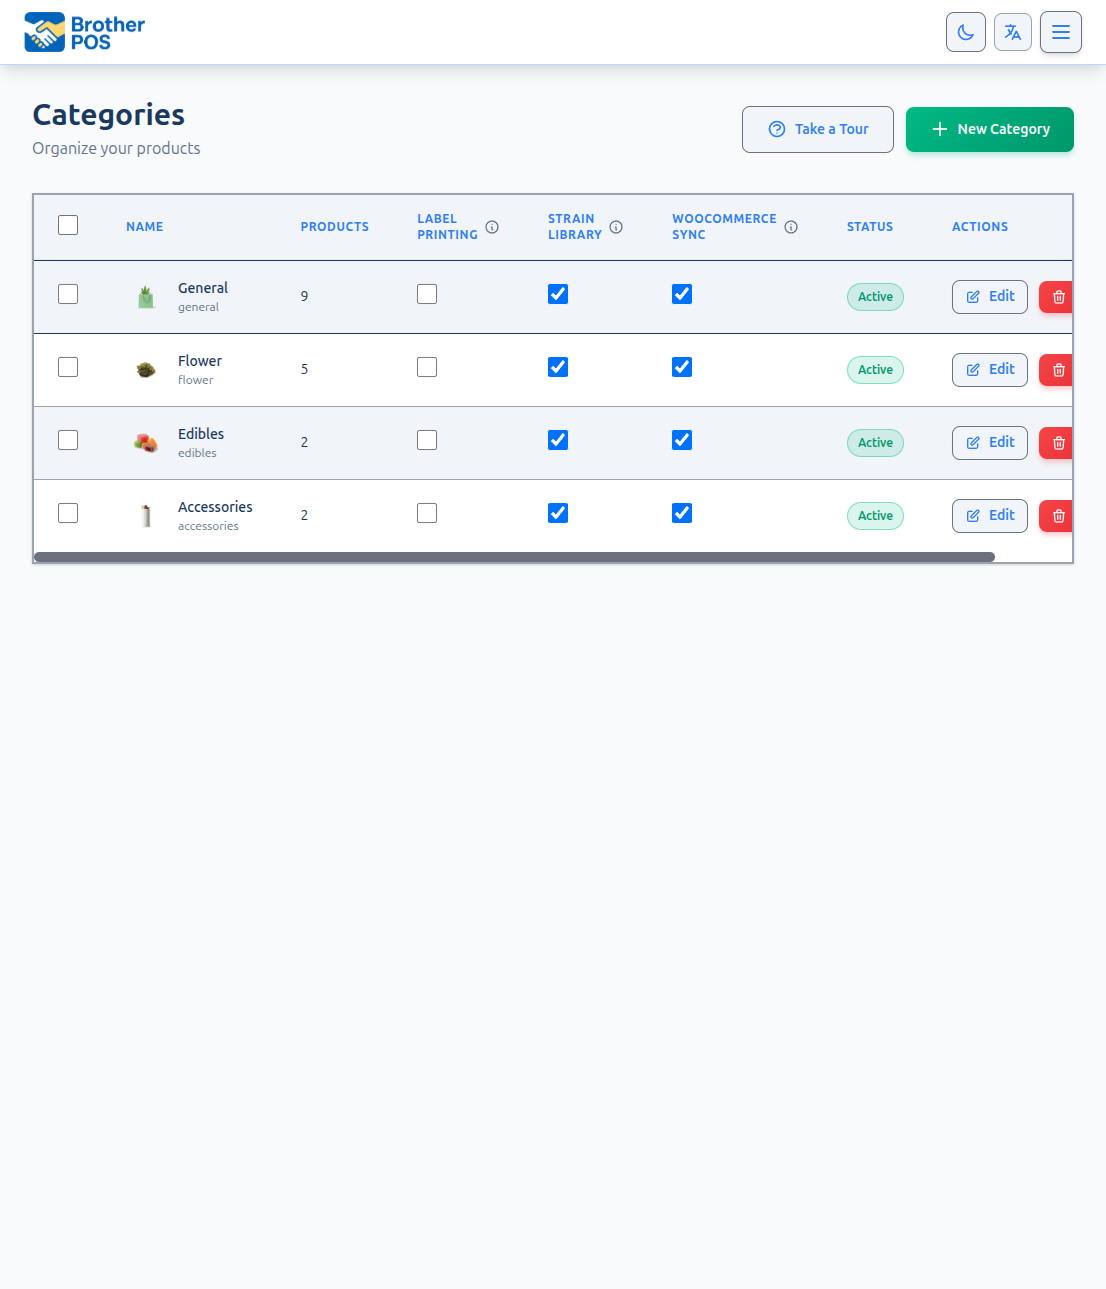
Categories
Categories group products by type. On the POS register, categories appear as filter tabs that cashiers can tap to quickly narrow the product grid.
Typical Cannabis Dispensary Categories
| Category | Products |
|---|---|
| Flower | Dried cannabis buds (various sizes) |
| Pre-Rolls | Pre-rolled joints, multi-packs |
| Edibles | Gummies, chocolates, baked goods, beverages |
| Concentrates | Shatter, wax, live resin, hash |
| Vapes | Cartridges, disposable pens, pods |
| Topicals | Creams, balms, lotions, patches |
| Accessories | Papers, grinders, pipes, storage |
| Seeds | Cannabis seeds for home cultivation |
Your store can create any categories that make sense for your product mix.
Creating a Category
- Navigate to Products in the top navigation bar, then click Categories.
- Click New Category.
- Enter the Category Name (e.g., "Edibles").
- Optionally select a Parent Category to nest this as a subcategory.
- For main categories, optionally select a Category Icon from the icon picker.
- Configure Active status and Loyalty Eligible checkbox.
- Click Save.
Editing a Category
- Navigate to Products > Categories.
- Click the category name you want to edit.
- Update the name, parent category, icon, active status, or other fields.
- Click Save.
Renaming a category updates it everywhere — the product list, POS register, and reports all reflect the new name. Past sales records retain the category name as it was at the time of the sale.
Deleting a Category
- Navigate to Products > Categories.
- Click the Delete button next to the category.
Categories with products cannot be deleted. You must first reassign all products to other categories before deleting. Categories with subcategories also cannot be deleted — remove or reassign subcategories first.
Products without a category are harder to find on the POS register. Always reassign products to another category before deleting the old one.
Category Best Practices
- Keep it simple. Five to ten categories is ideal for most stores. Too many categories clutter the POS filter tabs.
- Use clear names. Avoid abbreviations. "Pre-Rolls" is better than "PRs".
- Use categories effectively. Products can belong to multiple categories, which is useful when a product fits into more than one grouping (e.g., a pre-roll could be in both "Pre-Rolls" and "Indica"). However, avoid excessive cross-categorization that makes the catalog confusing.
- Review periodically. As your product mix evolves, consolidate or rename categories to keep the POS organized.
Brands
Brands identify the manufacturer or producer of a product. Brands are useful for:
- Filtering products by brand on the POS and in the admin panel.
- Brand-specific reporting (e.g., which brands sell the most).
- Customer requests (e.g., "I want something from Brand X").
- Supplier management (brands often map to suppliers).
Creating a Brand
- Navigate to Products in the top navigation bar.
- Click the More Actions dropdown, then select Brands.
- Click New Brand.
- Enter the Brand Name (e.g., "Green Growers").
- Click Save.
Editing a Brand
- Navigate to Products > More Actions dropdown > Brands.
- Click the brand name you want to edit.
- Update the name.
- Click Save.
Deleting a Brand
- Navigate to Products > More Actions dropdown > Brands.
- Click the Delete button next to the brand.
Brands with associated products cannot be deleted. You must first remove the brand from all products before deleting.
Quick-Creating Categories and Brands
You do not always need to visit the dedicated management pages. Categories and brands can be created on the fly:
- While creating a product — The category and brand dropdowns on the product form allow you to type a new name. If it does not exist, you can create it inline.
- During CSV import — If a category or brand name in your CSV does not exist, the importer creates it automatically.
Creating categories and brands inline is convenient for one-offs. For bulk setup (e.g., when onboarding a new store), use the dedicated management pages for better control.
Assigning Categories and Brands to Products
Single Product
- Navigate to the product detail page.
- Select the Category from the dropdown.
- Select the Brand from the dropdown.
- Click Save.
Multiple Products (Bulk)
The product list bulk actions bar supports: Deactivate, Activate, Delete, and Make Variations. Bulk category and brand assignment are not available from the product list.
To reassign categories or brands for multiple products, edit each product individually or use CSV Import with updated category/brand columns.
Via CSV Import
Include the category and brand columns in your CSV file. Products are assigned to the specified category and brand during import.
See CSV Import for the full CSV format.
Categories and Brands in Reports
Your sales reports can be grouped and filtered by category and brand:
- Category Performance — See sales totals, margins, and trends per category.
- Brand Performance — Compare brand performance across time periods.
- Top Products by Category — Identify your best sellers within each category.
Accurate category and brand assignments lead to more useful reports.
Suppliers
While not a category or brand, suppliers are a related organizational concept. Suppliers represent the companies you purchase inventory from.
Creating a Supplier
- Navigate to the Products page and use the More Actions dropdown to access suppliers.
- Click New Supplier.
- Enter the supplier details:
- Name (required)
- Contact name
- Phone
- Address
- Click Save.
Supplier Name on Products
Products have a supplier_name text field that can be set via CSV Import. There is no supplier dropdown on the product creation wizard or product edit form. The supplier name is a free-text field used for reference in CSV exports and imports.
Suppliers managed on the Suppliers page are used when creating Purchase Orders.
What's Next?
- Creating Products — Create new products with categories and brands.
- Bulk Operations — Reassign categories and brands in bulk.
- CSV Import — Import products with category and brand assignments.
- Managing Products — Browse your organized product catalog.
- Purchase Orders — Order from suppliers.