Purchase Orders
Purchase orders (POs) formalize your requests to suppliers and provide a structured way to receive inventory into your store. When you receive a shipment against a PO, stock levels are updated automatically and the receiving details are recorded for your records.
Purchase Order Workflow
The typical purchase order lifecycle:
Pending  -->  Confirmed  -->  Shipped  -->  Received
                                        -->  Partially Received
                         -->  Cancelled
| Status | Meaning |
|---|---|
| Pending | PO has been placed and is waiting for the supplier to confirm. |
| Confirmed | The supplier has confirmed the order. |
| Shipped | The supplier has shipped the order. |
| Partially Received | Some line items were received but the order is not yet complete. Stock has been updated for the received items; the remaining items can still be received later. |
| Received | All items have been received. Stock has been updated. |
| Cancelled | PO was cancelled before completion. |
Creating a Purchase Order
- Navigate to the Products page dropdown > Ordering & Transfers > Purchase Orders.
- Click New Purchase Order.
Step 1: Select the Supplier
- Choose the Supplier from the dropdown.
- If the supplier does not exist, click the + New Supplier button next to the dropdown to create a supplier inline without leaving the PO form. Enter the supplier name and details, then save.
- The supplier's contact information is auto-populated on the PO.
You no longer need to leave the purchase order form to add a new supplier. The + New Supplier button lets you create a supplier on the fly and immediately select it for the PO.
Step 2: Add Line Items
- Click Add Item to add a product to the PO.
- Search for an existing product by name or SKU, or create a new product directly from the PO form:
- + New Product -- Creates a simple product. Only the product name is required; additional fields (SKU, unit type, retail price, categories, brand) are available under "More Options".
- + New Variable (Parent) -- Creates a parent product for variations.
- + New Variation (Child) -- Creates a child variation linked to an existing parent product.
- If the product has variations, select the specific variation.
- Enter the Order Quantity — how many units you want to order.
- Enter the Unit Cost — the price per unit you expect to pay. This defaults to the product's cost field if set.
- The Line Total is calculated automatically (quantity x unit cost), but you can edit it directly if the actual total differs (e.g., for bulk pricing adjustments).
- To remove a line item, click the remove button on the line item row.
- Repeat for each product you want to order.
If consignment is enabled in your store, each line item has a Consignment checkbox. Check this to flag the item as consignment stock. Consignment items are tracked separately from regular inventory when received. See Consignment for details.
Table headers on the line items table are sortable -- click a column header to sort by that field.
Step 3: Add PO Details
| Field | Required | Description |
|---|---|---|
| PO Number | Auto-generated | A unique identifier for this purchase order. This is auto-generated and not editable. |
| Order Date | Yes | The date the order is placed. Defaults to today. |
| Notes | No | Internal notes or special instructions for the order. |
Step 4: Submit the Order
Click Create Purchase Order. The PO is created with status Pending.
You can:
- Print the PO to hand-deliver or fax to the supplier.
- Download as PDF to email as an attachment.
Brother POS does not send POs to suppliers automatically. You handle delivery of the PO yourself.
Receiving Inventory Against a PO
When a shipment arrives from the supplier:
- Navigate to the Products page dropdown > Ordering & Transfers > Purchase Orders.
- Find the PO (filter by status or search by PO number).
- Click the PO to open it.
- Click Receive Items.
The Receiving View
The receiving view analyzes line items for existing vs new products. It shows which items match existing products in your catalog and which would need to be created as new products.
Receiving the Order
- Review the line items and their product matches.
- For each line item, you can specify the quantity actually received — this may differ from the ordered quantity.
- Items with a received quantity of 0 are skipped (not received).
- Click to receive the order.
Partial receiving is supported. You can receive fewer items than ordered on each line item. The system tracks the quantity received per line and updates stock accordingly.
What Happens on Receipt
- Stock is updated -- The received quantities are added to each product's current stock.
- PO status updates -- The status changes to Received.
- Cost is updated -- If the actual unit cost differs from the PO cost, you can update it during receiving. This updates the product's cost field.
- An audit record is created -- The receiving event is logged with timestamp, user, and quantities.
Managing Purchase Orders
Viewing PO History
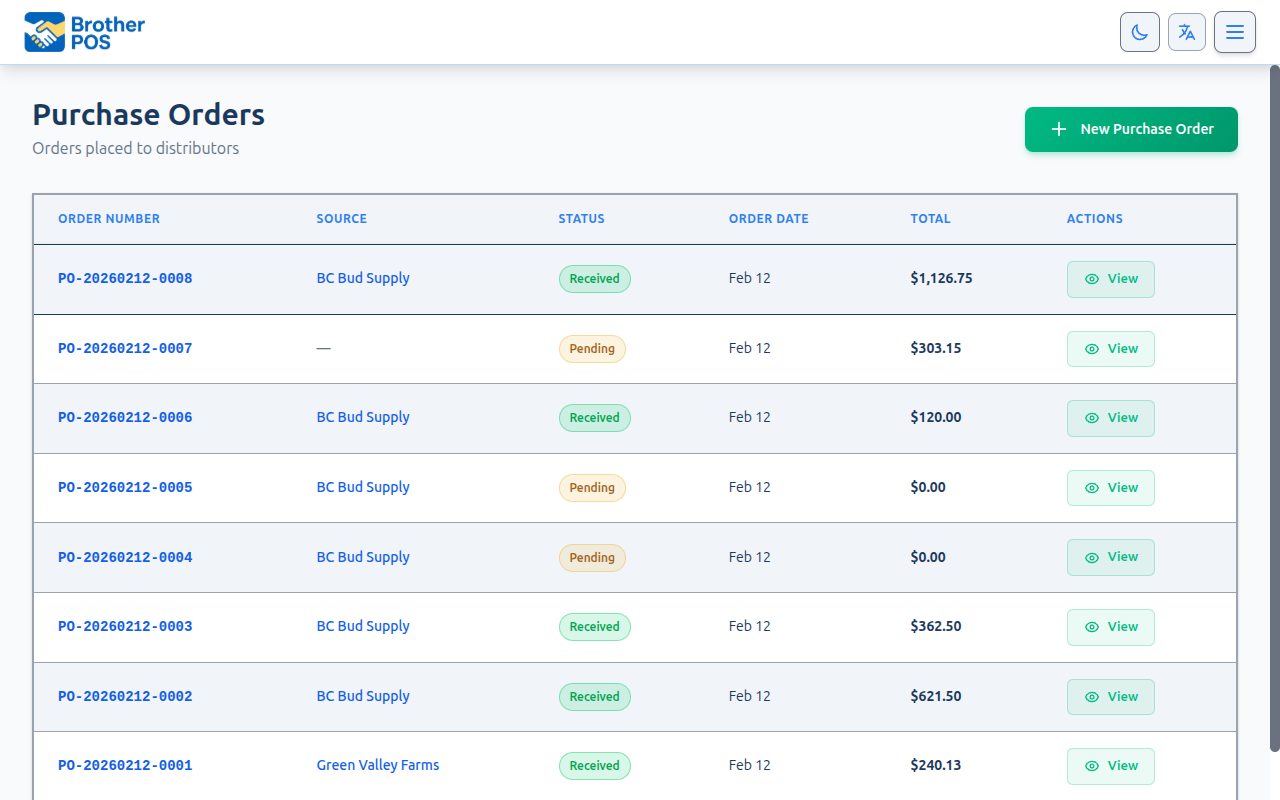
- Navigate to the Products page dropdown > Ordering & Transfers > Purchase Orders.
- The PO list shows all purchase orders with their status, supplier, total, and dates.
- Use filters to narrow the list:
- Status — Pending, Confirmed, Shipped, Partially Received, Received, Cancelled.
- Supplier — Filter by a specific supplier.
- Date range — View POs within a specific time period.
Editing a PO
Purchase orders can be edited in any status except Cancelled:
- Open the PO.
- Click Edit.
- Add, remove, or modify line items, quantities, costs, and notes.
- Click Save.
POs are editable in Pending, Confirmed, and Shipped statuses. Only cancelled POs are locked from further editing.
Cancelling a PO
If you no longer need the order:
- Open the PO.
- Click Cancel PO.
- Confirm the cancellation.
- The status changes to Cancelled.
If you cancel a PO after receiving some items, the stock already received remains in your inventory. Only future receiving is prevented. You may need to create a stock adjustment if you want to return the received items to the supplier.
Purchase Order Reports
Purchase order data feeds into inventory valuation -- PO costs contribute to your inventory valuation calculations.
If you need to receive inventory quickly without creating a purchase order first, use Scan to Receive. It lets you scan barcodes, build a receiving list, and update stock in a single batch — with optional PO linking.
Best Practices
- Always use POs for receiving. Avoid manually adjusting stock when receiving supplier shipments. POs create a proper paper trail.
- Verify counts at receiving. Count every item in the shipment. Do not assume the supplier sent the correct quantity.
- Note discrepancies. If the shipment quantity does not match the PO, document it in the receiving notes.
- Review pending POs regularly. Overdue POs (past their expected delivery date but still pending) may indicate a supplier issue.
What's Next?
- Stock Adjustments — Correct stock manually when needed.
- Stock Transfers — Move stock between stores.
- Low Stock Alerts — Get notified when it is time to reorder.
- Scan to Receive — Fast barcode-driven receiving without creating a PO first.
- Categories & Brands — Set up suppliers before creating POs.
- Consignment — Track consignment inventory received through POs.