Exporting Reports
Use this page to download a report as a spreadsheet or PDF, and to see what each export file contains.
Quick steps
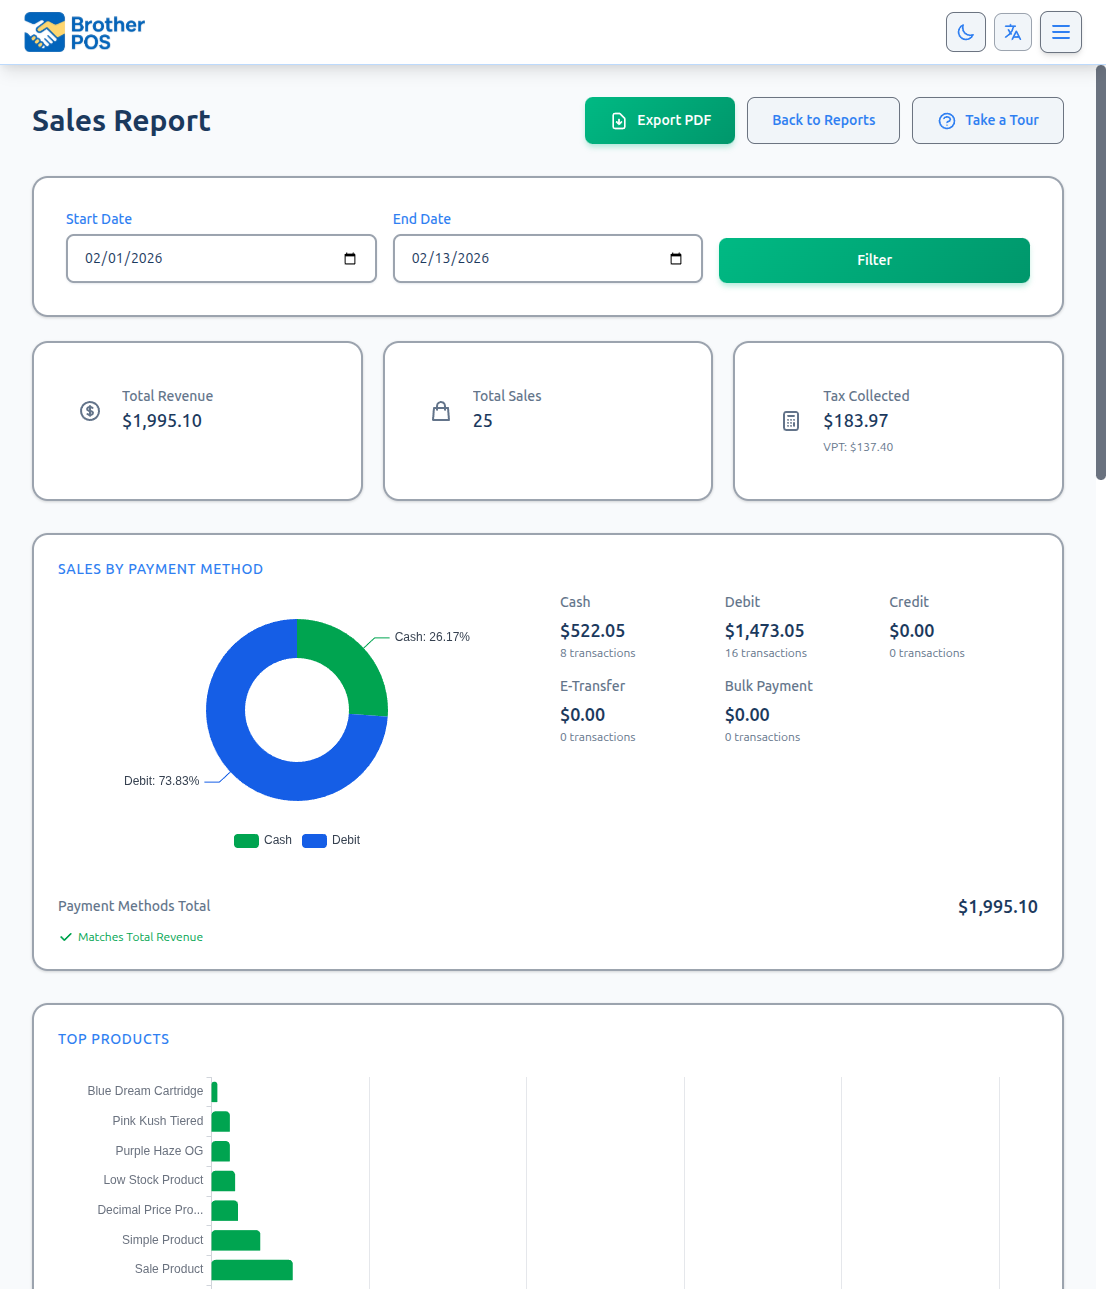
- Click Reports in the top menu, then Sales Report.
- Set the dates (a quick preset, or Start Date / End Date and Filter) and any filters you want.
- Click the export you need at the top of the page:
- Export PDF — a print-ready report that opens in a new tab.
- Export CSV — one row per sale.
- Line Items (CSV) — one row per item sold.
- Excel (.xlsx) — a formatted workbook with Summary, Transactions and Line Items sheets.
- Tax Summary (CSV) — tax per sale, with returns taken off, for your tax filing.
- Open the file from your Downloads folder.
The transaction exports follow the Status filter, which starts on Completed. Set it to All or Voided first.
Common questions
Which export do I give my accountant? Excel (.xlsx) for a tidy workbook, or Tax Summary (CSV) for tax remittance.
The file has headers but no rows. There were no sales in that date range, or your filters exclude everything.
Can I export other reports? Many have their own Export CSV button — see Other Reports You Can Export. Daily Close, Inventory, Customer Analytics and Wholesale don't export.
Accented letters look wrong in Excel. Use your spreadsheet's import option and choose UTF-8 as the encoding.
More detail: the export formats
The Sales Report offers five export buttons — a print-ready PDF, a per-sale CSV, a Line Items (CSV), a formatted Excel (.xlsx) workbook, and a Tax Summary (CSV). Several other reports have their own export buttons too. This page explains what is in each file and which filters each export follows.
Export Formats
CSV (Comma-Separated Values)
CSV files open in any spreadsheet program — Microsoft Excel, Google Sheets, LibreOffice Calc, or Apple Numbers.
Best for:
- Importing data into accounting software
- Your own analysis with formulas, pivot tables, and charts
- Combining with other data
What to expect:
- One row per record, with column headers in the first row
- Money amounts written as plain numbers with two decimal places (no currency symbols or thousands separators)
- Dates and times in your store's timezone
- Receipt numbers in Export CSV and Line Items (CSV) are written so spreadsheets keep them as text instead of turning long numbers into scientific notation
Excel (.xlsx) Workbook
The Excel (.xlsx) button downloads a formatted, multi-sheet workbook rather than a flat CSV. Header rows are frozen with filter arrows, money columns are pre-formatted as currency, and receipt numbers are stored as text.
Best for:
- Handing a clean, formatted spreadsheet to an accountant or owner
- Working across summary, transaction, and line-item views in one file
PDF
The Export PDF button opens a print-ready Sales Report in a new browser tab. Use your browser's print option to print it or save it as a PDF.
Best for:
- Printing physical copies
- Emailing to accountants, owners, or partners
- Filing completed reports
The page includes the report period and the date and time it was generated.
More detail: exporting the Sales Report and which filters apply
How to Export the Sales Report
- Go to Reports → Sales Report.
- Set the date range and any filters you want.
- Click the export button you need.
- Your browser downloads the file (or, for PDF, opens a print-ready tab). Check your Downloads folder.
Which Filters Each Export Follows
Not every export follows every filter on the page:
| Export | Date range | Store (dual store mode) | Payment, Cashier, Status, Receipt # | Manual Items Only | Revenue Center |
|---|---|---|---|---|---|
| Export PDF | Yes | Yes | No — completed sales only | No | Yes |
| Export CSV | Yes | No | Yes | Yes | Yes |
| Line Items (CSV) | Yes | No | Yes | Yes | Yes |
| Excel (.xlsx) | Yes | Summary sheet only | Transactions and Line Items sheets only | No | Yes |
| Tax Summary (CSV) | Yes | No | No — completed sales and returns | No | No |
If you have picked a Revenue Center on the Sales Report, the PDF, CSV, Line Items and Excel exports cover only that revenue center. Tax Summary (CSV) always covers the whole store, since tax is filed for the store.
The transactions table shows Completed sales by default, so Export CSV, Line Items (CSV) and Excel (.xlsx) do too. Set Status to All or Voided before exporting if you need voided sales in the file.
Which Export Should I Use?
| Button | Format | What you get | Best for |
|---|---|---|---|
| Export PDF | A designed, print-ready report | Printing, emailing, filing | |
| Export CSV | CSV | One row per sale; items packed into one "Item Details" cell; split payments broken out in a "Payment Breakdown" cell | Quick per-transaction export |
| Line Items (CSV) | CSV | One row per item sold | Pivoting sales by product, category, or brand |
| Excel (.xlsx) | Excel | A formatted 3-sheet workbook | A finished, shareable spreadsheet |
| Tax Summary (CSV) | CSV | Per-sale tax breakdown (GST/PST/additional), with returns taken off | Filing tax remittances |
More detail: what is in each Sales Report file
Sales Report Export Details
Export CSV (one row per sale)
Columns: Receipt #, Date/Time, Cashier, Revenue Center, Payment Method, Payment Breakdown (each part of a split payment, e.g. Cash: 50.00; Debit: 30.00 — filled in only for split payments), Status, Subtotal, Tax, Discount, Total, Amount Tendered, Change Given, Items Count, Item Details (all items packed into one cell, e.g. Blue Dream x7.0g @$10.0; manual items are marked [Manual]), Placed At (when the sale or order was first placed — for a phone or online order, often well before it was paid), Source, Fulfillment, and Delivery/Shipping Fee (the fee is part of Total).
The Discount column counts the sale's order discount together with promotions, qualifying discounts and loyalty tier discounts on the sale.
Line Items (CSV) — one row per item
The most "pivotable" export: instead of cramming a sale's items into a single cell, it gives every line item its own row.
Columns: Receipt #, Date/Time, Cashier, Revenue Center, Payment Method, Sale Status, Product, Option (a named option, or -), Category, Brand, Quantity, Unit, Unit Price, Line Discount, Line Total.
- Honors "Manual Items Only." If you set Item Type to Manual Items Only, this export keeps only the manually typed lines (each named
<name> [Manual], categoryManual), so you can isolate one-off charges like delivery fees. - Marks the unit on each line: weighed products show their weight unit (
g,oz,lb,kg), fuel showsL, and everything else showsea. - Split payments show as
splitin the Payment Method column here; use Export CSV (Payment Breakdown column) or the Excel workbook's Transactions sheet to see each part.
Excel (.xlsx) — three sheets
| Sheet | One row per | Key contents |
|---|---|---|
| Summary | — | Report title, period, generated timestamp, Net Sales (before tax) (with returns and delivery/shipping fees shown when there were any), Transactions, Avg Order Value, Tax Collected, Total Collected (incl. tax), a Payment Method table, and a Category table. In the Payment Method table, payments taken with the POS CARD button are listed as Debit, card-terminal and online card payments as Card, and BrotherPay eDebit as eDebit; a method only appears when it has payments. |
| Transactions | Sale | Receipt #, Date/Time, Cashier, Revenue Center, Payment Method, Payment Breakdown, Status, Subtotal, Tax, Discount, Total, Amount Tendered, Change, Items. |
| Line Items | Item | Receipt #, Date/Time, Cashier, Payment Method, Product, Category, Brand, Quantity, Unit, Unit Price, Line Discount, Line Total. |
The workbook always includes every line item regardless of the Item Type filter. If you want only manual lines, use Line Items (CSV) with that filter set.
The Summary sheet always covers the period's completed sales, the same figures as the cards on the Sales Report page. The Payment, Cashier, Status and Receipt # filters only narrow the Transactions and Line Items sheets, so setting Status to All never puts voided sales into the Summary's revenue.
Tax Summary (CSV)
Completed sales, oldest first, followed by every return completed in the same period, with a TOTAL row at the bottom. The columns follow your store's tax setup:
- Single tax rate (for example HST): Date, Sale #, Subtotal (before discounts), Discounts, Taxable Amount, your tax's name (for example HST), Additional Tax, Additional Tax Name, Total Tax, Total.
- Split GST/PST: Date, Sale #, Subtotal (before discounts), Discounts, Taxable Amount (GST), Taxable Amount (PST), GST, PST, Additional Tax, Additional Tax Name, Total Tax, Total.
Taxable Amount is what the tax was actually charged on, after discounts. The PST taxable amount leaves out PST-exempt items. So you can check each line: taxable amount × rate = the tax.
The Tax Summary is a button on the Sales Report only (it no longer has a card of its own on the Reports page); set the Sales Report's dates first to choose the period.
Returns are listed with "(return)" after the return number and their amounts written as negatives, so the TOTAL row is the tax you kept after refunds. For example, if you collected $130 of HST in the month and refunded $13 of it on a return, the total shows $117 — the amount to remit.
Export PDF (print-ready report)
Completed sales only. Sections: report title, period, and generated timestamp; a row of key figures (Net sales (before tax), Total Sales, Avg Order, Discounts, Tax Collected, Total collected (incl. tax)); Revenue by Type (only when the period has more than one kind of revenue, such as products and manual entries); Payment Methods; Discount Breakdown; Top Products; Category Performance; Brand Performance; and Busiest Times (busiest day and hour).
The PDF's Discount Breakdown uses the same list of discount kinds as the Sales Report page, so the totals match. Its Payment Methods table counts payments, not sales: a sale paid partly in cash and partly by card counts once under Cash and once under Card. So the Payments column can add up to more than the number of sales — the number of sales is printed under the table.
More detail: other reports you can export
Other Reports You Can Export
| Report | Export |
|---|---|
| Financials — Profit & Loss tab | CSV |
| Financials — Cash Flow tab | CSV and PDF |
| Sales Report — Open-price sales tab | Export CSV |
| Receiving Variance | Export CSV |
| Weigh-Heavy Give-Away | Export CSV |
| Sales Report — Profit tab | Export CSV — one row per product for the dates (and store) you picked, with a total row for products that have a cost |
| Flower / Weight Variance | Export CSV |
| Your Mix vs Your Region | Export CSV |
| BrotherPay eDebit Reconciliation | Export CSV |
| Lodging | Export CSV |
| Trail Registrations | Export CSV |
Daily Close, Inventory, Customer Analytics and Wholesale do not have export buttons. Daily Close has a Print button instead when printing is turned on for your store.
More detail: working with CSV files and regular reporting
Working with CSV Files
Opening in Excel
- Double-click the downloaded CSV file. Excel should open it automatically.
- If everything lands in one column, use Data → Text to Columns with comma as the delimiter.
Opening in Google Sheets
- Go to Google Sheets.
- Click File → Import.
- Upload the CSV file.
- Select Comma as the separator type.
- Click Import data.
Common CSV Tasks
Pivot table for payment method analysis:
- Select all data in the Export CSV file.
- Insert a pivot table.
- Set Payment Method as the row field.
- Set Total as the value field (Sum).
Filter for a specific date range:
- Open a CSV with a date column.
- Apply a filter to the date column.
- Set conditions to show only the dates you need.
Regular Reporting
Report files aren't exported automatically. For regular files:
- Set a calendar reminder for your desired frequency (daily, weekly, monthly).
- Log in and set the report period.
- Export and save to your preferred location, using a consistent folder structure:
Reports/2026/January/Sales_Report_Jan_2026.csvSales_Report_Jan_2026.pdfFebruary/...
If you just want the headline numbers each day or week, turn on the Report Digest. It emails a sales summary automatically — it isn't a file export, but it saves logging in for a quick check.
More detail: troubleshooting
Troubleshooting Export Issues
File Downloads but Is Empty
- Check that your date range contains sales. If there are none, the export has headers but no data rows.
- Check that your filters (Payment, Cashier, Status, Receipt #, Item Type) aren't excluding everything.
Numbers Don't Match the Screen
- The export may not follow every filter — see Which Filters Each Export Follows.
- The Sales Report's cards count completed sales only, while Export CSV, Line Items (CSV) and the Excel Transactions and Line Items sheets follow the transactions table's Status filter.
- Tax Summary (CSV) takes returns off, so its tax total is lower than Tax Collected on screen whenever you had returns. The Net figure under Tax Collected is the one that matches.
CSV Opens with Jumbled Columns
- Use your spreadsheet program's import option instead of double-clicking the file, and choose comma as the separator.
Special Characters Display Incorrectly
- If accented characters (for example in French product or customer names) look wrong, import the file and choose UTF-8 as the file encoding.
What's Next?
- Sales Reports — Generate and analyze your sales data.
- Daily Close — The whole day on one page, ready to print.
- Sales Report — Profit tab — Review product and category profitability.