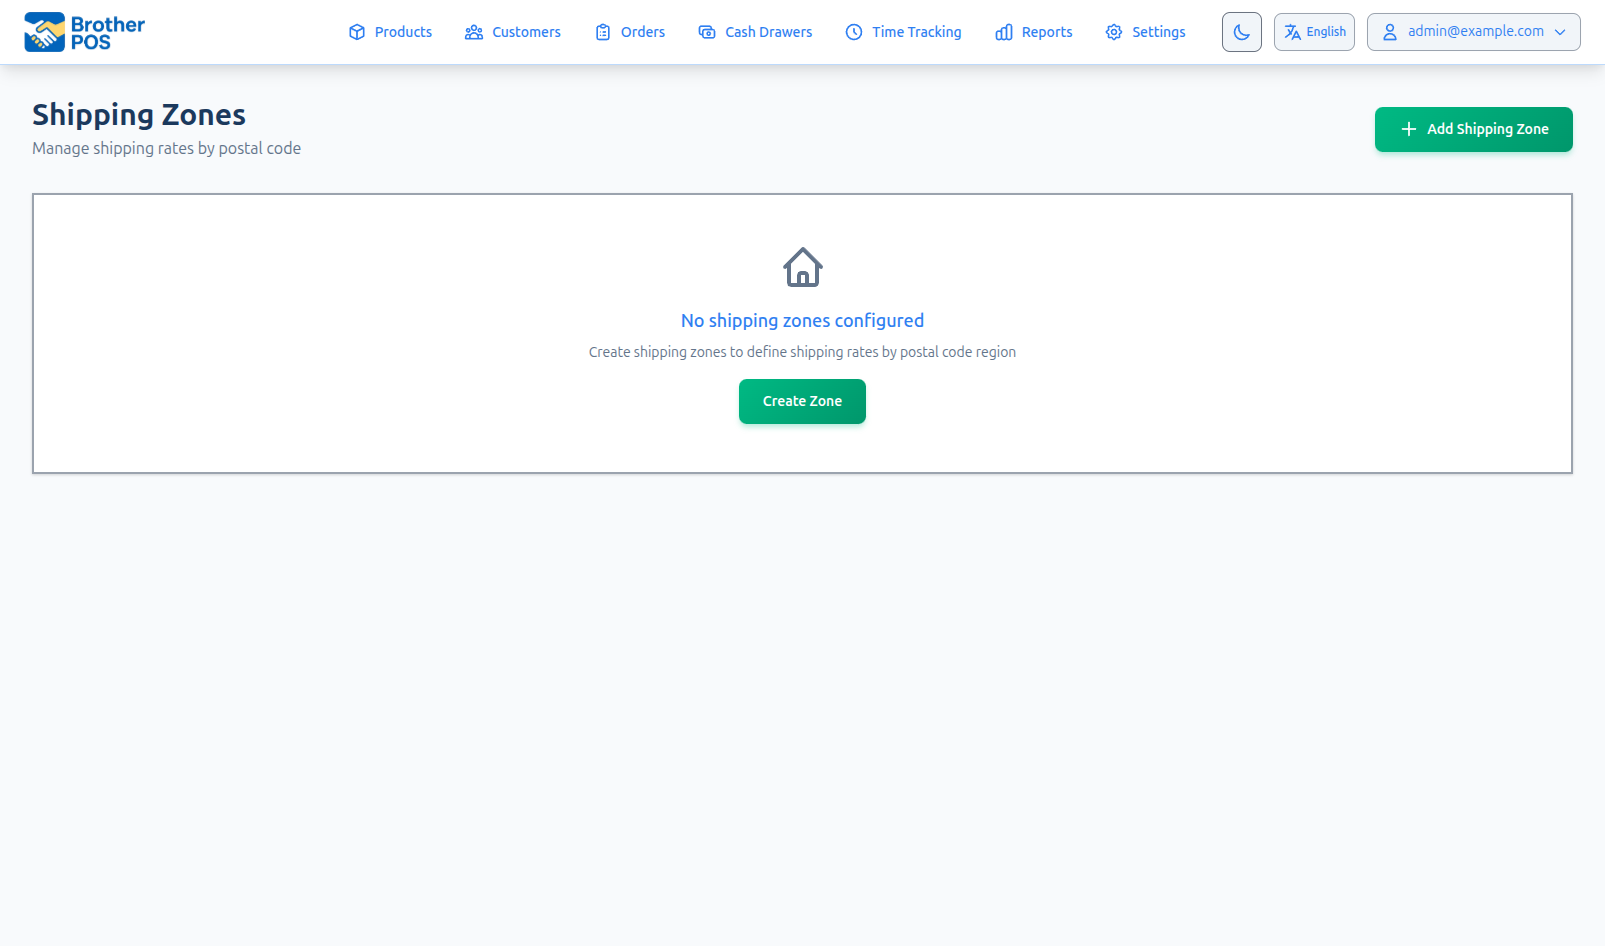
Shipping Zones
Use this page to set where you ship online orders by post or courier, what customers pay for it, and how to send shipping orders out.
Quick steps
To set a shipping price:
- Go to Storefront in the admin and find the Shipping card. (Shipping needs Enable Shipping on — use the card's Shipping switch.)
- One price everywhere? Fill in Shipping Fee ($) and, optionally, Free Shipping Over ($), then click Save Shipping Rate. You're done.
- Different prices by area? Click Manage zones (or Set up shipping zones), then Add Shipping Zone.
- Click a Quick Preset (such as All of Canada or a province), enter the Flat Rate, and a Free Shipping Threshold only if you offer free shipping.
- Click Create Shipping Zone.
To ship an order:
- Go to Orders, click Fulfillment, then the Shipping tab (if you also deliver).
- Click Print Slip, pack the order, then click Ship.
- Pick the carrier, type the tracking number, and click Confirm Shipped.
A Free Shipping Threshold of $0.00 makes every order ship free.
Common questions
What's the difference between shipping and local delivery? Local delivery uses your own drivers and Delivery Zones. Shipping goes by post or courier and uses shipping zones. You can offer both.
Two zones cover the same address. Which one is used? The first active zone that matches. A province preset is checked before All of Canada. If you mix in zones made without a preset, check the Priority column — lower numbers are checked first.
A customer can't place a shipping order. No active zone matches their address, or (for cannabis stores with Ship only within my province on) the address is in another province.
Does the customer get told their order shipped? Yes, if they ordered from your storefront and gave an email address.
More detail: turning shipping on and off
Customers can only choose shipping at checkout when Enable Shipping is on. Turn it on under Settings > Edit Settings > Sales & Integrations, or with the Shipping switch on the Storefront page. Once it's on, Shipping Zones also appears in the More Actions menu on the Customers page. This is separate from local delivery.
Switch Enable Shipping off and your online checkout stops offering shipping, even if you still have shipping zones set up. A customer who already had checkout open is told "That delivery option isn't available anymore. Please choose another." rather than having a shipping order go through. Your zones are kept, so switching shipping back on restores them.
More detail: shipping vs. local delivery, and getting to Shipping Zones
Shipping vs. Local Delivery
| Local Delivery | Shipping | |
|---|---|---|
| Who takes it there | Your own drivers | Post or courier |
| Where it applies | Postal code patterns | Country, province/state, and optional postal code patterns |
| What the customer pays | One fee per zone, with an optional free-delivery amount | Flat rate, per-kg rate, or weight tiers, with an optional free-shipping amount |
Both can be switched on at the same time. At checkout the customer picks the method they want from the ones you offer.
Getting to Shipping Zones
- Go to Storefront in the admin.
- Find the Shipping card.
- Click Manage zones (or the zones configured link). If you have no zones yet, the card shows a quick setup form and a Set up shipping zones link instead.
You can also type "Shipping Zones" into the admin search.
Quick setup: one rate for everywhere
If you just want one shipping price for every order, you don't need to build zones. With no zones set up, the Shipping card (and the empty Shipping Zones page) offers a quick form:
| Field | What it does |
|---|---|
| Shipping Fee ($) | The flat price charged on every shipped order |
| Free Shipping Over ($) | Optional. Orders at or above this amount ship free. Leave blank for no free shipping. |
This creates a single zone called "Standard Shipping" that covers every address.
More detail: every field when creating a zone, and how the charge is worked out
Creating a Shipping Zone
- On the Shipping Zones page, click Add Shipping Zone.
- Optionally click a Quick Preset (All of Canada, United States, or a Canadian province) to fill in the name and location for you.
- Fill in the details below.
- Click Create Shipping Zone.
Zone Name
A name for the zone, such as "Saskatchewan" or "Western Canada". Required, and it must be different from your other zones.
Where does this zone ship to?
| Field | What it does |
|---|---|
| Country | The country this zone covers, or Any Country. New zones start on Canada. |
| Province / State | Pick a province (Canada) or state (United States), or leave it on All Provinces / All States to cover the whole country. For other countries, type the region code. |
| Restrict to specific postal codes (optional) | Click to open. Enter one pattern per line. |
Postal code patterns match the start of the customer's postal code. Spaces and upper/lower case don't matter.
S7*matches every postal code starting with S7.M5*andM4*on separate lines covers both areas.- Leave the box empty and the zone covers every postal code in its country and province.
Build zones around what it costs you to ship, not around the map. If Alberta and British Columbia cost the same, one zone can cover both.
Shipping Rate
| Field | What it does |
|---|---|
| Flat Rate | A fixed shipping charge for the order. |
| Free Shipping Threshold | Orders at or above this amount ship free. Leave it empty if you don't offer free shipping — a threshold of $0.00 makes every order ship free. |
Click Advanced: per-kg rate & weight-based tiers for two more ways to price:
| Field | What it does |
|---|---|
| Rate per kilogram (replaces the flat rate) | When set above 0, shipping is the order's weight in kilograms times this rate, based on each product's shipping weight. It replaces the flat rate — the two are not added together. Leave it at 0.00 (or empty) to charge the flat rate. |
| Weight-Based Rate Tiers | Click + Add Rate Tier and enter Min Weight (g), Max Weight (g) and Rate ($). Leave the maximum blank for "and up". |
How the shipping charge is worked out
At checkout Brother POS works through these in order and stops at the first one that applies:
- Free shipping — if the order is at or above the Free Shipping Threshold, shipping is $0.
- Weight tiers — if the zone has any, the tier that covers the order's weight sets the price. If the order is heavier than every tier, the highest tier's rate is charged.
- Per-kg rate — if set above zero, the order weight in kilograms times the per-kg rate.
- Flat rate — otherwise, the flat rate.
The shipping charge is not taxed unless you choose to tax it. To charge tax on it, go to Settings > Edit Settings > Sales & Integrations tab and, in the Delivery & Shipping Fees section, tick Charge tax on delivery and shipping fees. It is then taxed at your store's tax rate (GST and PST, or your single rate such as HST), like the products are. It is never charged the additional tax (such as a vapour tax).
For example, a zone with tiers of 0–500 g = $8, 501–2000 g = $14 and 2001 g and up (no maximum) = $22 charges $14 for a 1.2 kg order. A zone with only a $12 flat rate and a $150 free-shipping threshold charges $12 on a $90 order and nothing on a $160 order.
Per-kg and tier pricing use each product's shipping weight. A product with no shipping weight counts as weighing nothing, so a per-kg zone would charge $0 for it.
More detail: which zone a customer gets
Which Zone a Customer Gets
When a customer enters a shipping address, Brother POS checks your active zones in order and uses the first one that matches the country, province/state and postal code. The order is set for you: a zone made from a province Quick Preset is checked before one made from the All of Canada or United States preset, so the province rate wins. A zone you fill in without using a preset is checked ahead of both, so if you mix the two, check the Priority column on the Shipping Zones page (lower numbers are checked first).
If your store sells cannabis and you've turned on Ship only within my province (Settings > Edit Settings > Sales & Integrations tab, Delivery & Shipping section), only addresses in your store's own province can be shipped to, whatever your zones cover. Even the "Standard Shipping" zone from the quick setup, which covers every address, only applies inside your province. A customer who picks another province is told "We can only ship cannabis to addresses in (your province)" and can't place the order.
If no zone matches the address, the customer can't place a shipping order. They're told there is no shipping to that location, and if they try to place the order anyway they see "We can't ship to that address yet. Please choose pickup, or contact us and we'll sort it out."
More detail: editing, deactivating and deleting zones
Editing a Shipping Zone
- On the Shipping Zones page, click Edit next to the zone.
- Change the name, location, postal codes or rates. To remove a weight tier, tick Remove next to it.
- Click Update Shipping Zone.
New rates apply to orders placed after you save. Orders already placed keep the shipping charge they were given at checkout.
Deactivating a Shipping Zone
Click Deactivate next to the zone on the Shipping Zones page. Click Activate to turn it back on.
An inactive zone is ignored at checkout. Customers it used to cover are matched to another active zone if one fits their address; otherwise shipping isn't available to them.
Deleting a Shipping Zone
- Click Delete next to the zone on the Shipping Zones page.
- Confirm.
Deleting a zone takes effect immediately for new orders. Orders already placed are not changed. If you might want the zone again, deactivate it instead.
More detail: free shipping promotions
Free Shipping Promotions
To run a free shipping promotion:
- Click Edit on the relevant zone(s).
- Set the Free Shipping Threshold to the minimum order amount for the promotion (or $0.00 to make every order ship free).
- Click Update Shipping Zone.
- When the promotion ends, put the original threshold back — or clear the field if the zone didn't offer free shipping before.
Free shipping pairs well with Sale Campaigns. Run a promotion that offers both a product discount and free shipping to drive online orders.
More detail: shipping orders out
Shipping Orders Out
Once orders come in, send them from the Fulfillment page:
- Go to Orders and click Fulfillment.
- If your store also does local delivery, click the Shipping tab. (A store that only ships goes straight to the shipping list.)
Pending Shipments lists every shipping order that hasn't been marked shipped yet, with its Order #, Customer, Shipping Address, Order Date and Total. An order from your storefront has an Online badge and one from your WooCommerce website a WooCommerce badge; click the badge to open it in Online Orders.
For each order:
- Click Print Slip to print its packing slip (see Packing Slips).
- Click Ship, then choose the carrier (Canada Post, UPS, FedEx, Purolator or Other), and type the tracking number and the expected delivery date if you have them.
- Click Confirm Shipped.
The order leaves the list and appears under Recently Shipped (Last 7 days) with its tracking number and carrier. A customer who ordered from your storefront and gave an email is emailed that their order has shipped.
In Online Orders, a shipping order shows Awaiting Shipment, or the date it shipped and its tracking number, with a View in Fulfillment › Shipping link.
The Shipping Queue is now the Shipping tab of the Fulfillment page. An old bookmark to the Shipping Queue opens that tab.
More detail: best practices
Best Practices
- Leave the free-shipping field empty unless you mean it — $0.00 makes all shipping free.
- Add shipping weights to products before using per-kg or weight-tier pricing.
- Keep a catch-all zone (for example All of Canada) so customers aren't turned away because their address fell between your more specific zones.
- Review rates when your carrier's prices change.
- Test checkout — place a test order with an address in each zone to check the charge is right.
What's Next?
- Delivery Zones — Configure local delivery zones.
- Packing Slips — Generate packing slips for shipped orders.
- Routes — Manage local delivery routes.
- Drivers — Set up driver accounts for local delivery.