Routes
Routes let you group multiple delivery orders into an organized sequence for a driver to complete in a single trip. Rather than dispatching orders one at a time, you batch them into a route, assign a driver, and send the route to the driver's mobile device.
Routes require Enable Local Delivery to be enabled in your store settings.
How Routes Work
- Delivery orders come in and land in the Unrouted Orders queue.
- An admin or manager creates a route and adds orders to it.
- A driver is assigned to the route.
- The driver receives the route on their mobile PWA.
- The driver completes deliveries in sequence, marking each one as delivered.
- The route is marked as complete when all orders are delivered.
Accessing Routes
- Log in to the Admin Panel.
- Navigate to
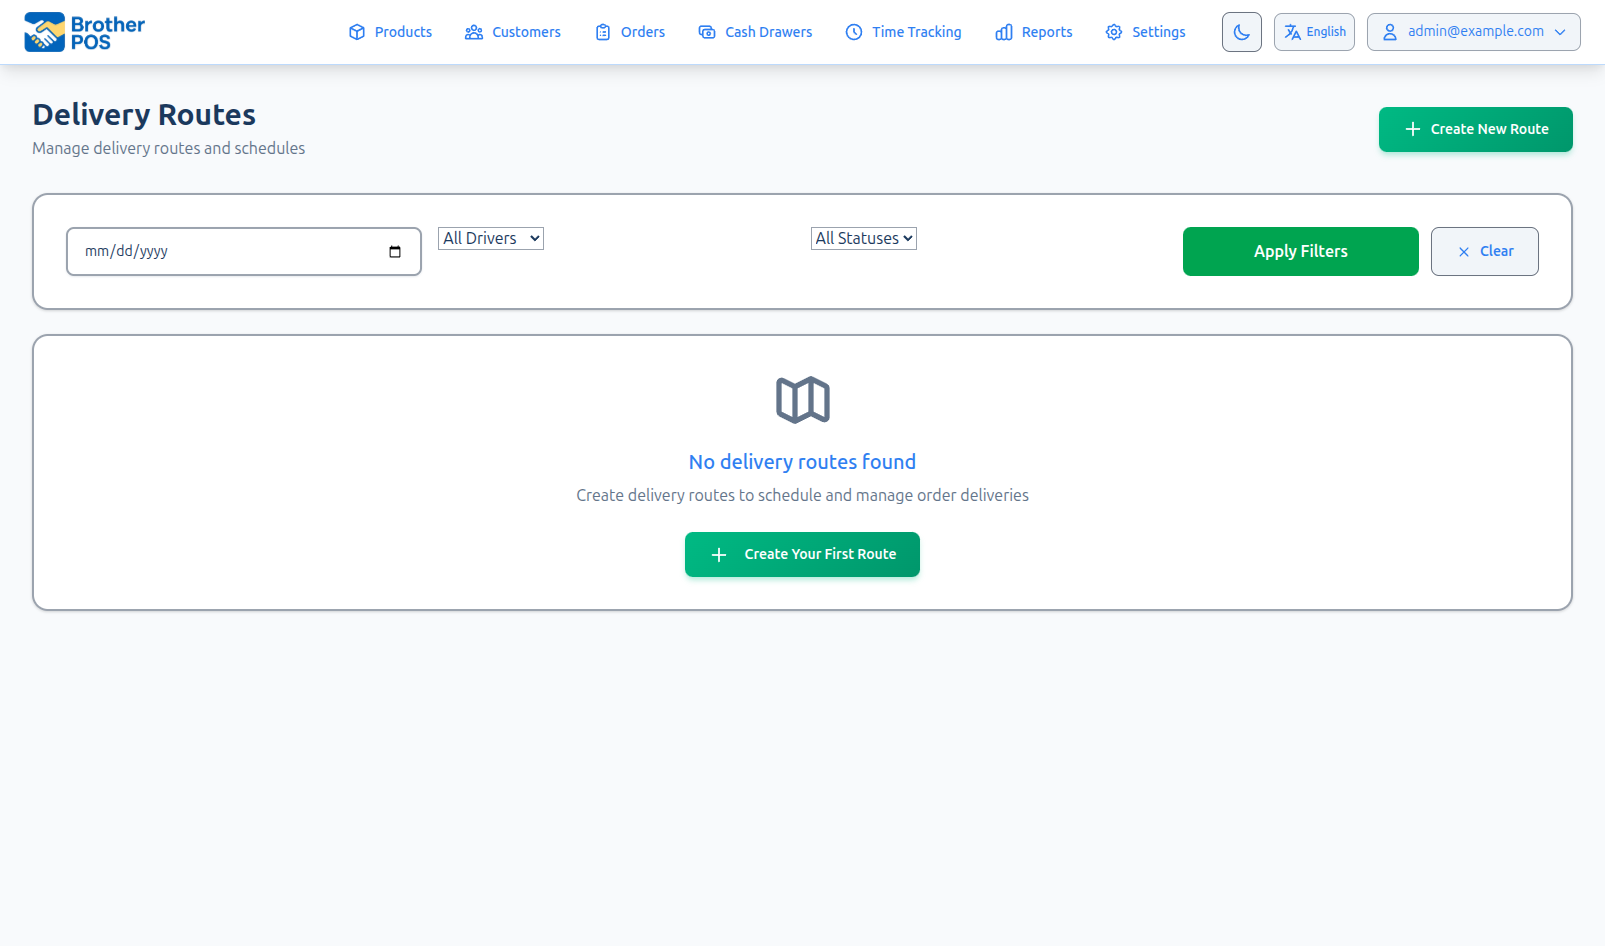
/admin/delivery_routes(this page is accessible by direct URL when local delivery is enabled). - The routes page loads showing existing routes and controls for creating new ones.
Viewing Active Routes
The active routes list shows all routes that are currently in progress or pending departure:
| Column | Description |
|---|---|
| Route ID | Auto-generated identifier. |
| Driver | The assigned driver (driver is required at creation — routes cannot be unassigned). |
| Orders | Number of orders in the route. |
| Status | Pending, In Progress, or Completed. |
| Created | When the route was created. |
| Estimated Time | Estimated total delivery time. |
Creating a New Route
Step 1: Review Unrouted Orders
- On the Routes page, click the Unrouted Orders tab.
- Review the pending delivery orders. Each order shows:
- Customer name and address
- Postal code and delivery zone
- Order total
- Time the order was placed
Step 2: Create the Route
- Click New Route.
- Fill in the route details:
- Driver -- Select a driver from the dropdown (required —
driver_idis non-nullable, so you must assign a driver at creation time). Only users with the Driver role appear. - Delivery Date -- The date for this route (required).
- Time Slot -- The time window for deliveries (morning, afternoon, evening, or all day).
- Notes -- Optional notes about the route.
- Driver -- Select a driver from the dropdown (required —
- Add delivery orders to the route.
- Click Save.
- The route status is set to Pending.
- The assigned driver receives the route on their mobile device.
Select orders from the same delivery zone to create efficient routes. Mixing orders from distant zones increases drive time and fuel costs.
Managing an Active Route
Viewing Route Details
Click a route in the active routes list to see:
- All orders in the route with delivery sequence.
- Driver information and contact details.
- Status of each individual delivery (Pending, In Transit, Delivered).
Adding Orders to an Existing Route
- Open the route.
- Click Add Orders.
- Select from the unrouted orders queue.
- Position the new orders in the sequence.
- Save.
Removing Orders from a Route
- Open the route.
- Click the remove icon next to the order you want to remove.
- Confirm. The order returns to the unrouted queue.
Route Statuses
| Status | Meaning |
|---|---|
| Pending | Route is created but the driver has not started. Editable. |
| In Progress | Driver has started the route. Deliveries are being made. |
| Completed | All deliveries in the route are marked as delivered. |
| Cancelled | Route was cancelled. See note below about cancel behavior. |
Reassigning a Driver
If a driver becomes unavailable:
- Open the route.
- Click Change Driver.
- Select a different driver.
- The new driver receives the route on their mobile device.
- The original driver's route is cleared.
Completing a Route
Routes are completed automatically when the driver marks the last delivery as delivered on their mobile device. You can also manually complete a route:
- Open the route.
- Click Mark Complete.
- Confirm that all deliveries have been made.
Cancelling vs. Destroying a Route
There is an important distinction between cancelling and destroying (deleting) a route:
- Cancel -- Updates the route status to Cancelled but does NOT return orders to the unrouted queue. Use cancel when orders should not be re-dispatched.
- Destroy (Delete) -- Deletes the route and unassigns orders back to the unrouted queue. Use destroy when you want to re-route the orders to a different driver or route.
Route History
To view completed and cancelled routes:
- On the Routes page, click the History tab.
- Filter by date range, driver, or status.
- Click a route to view its full details, including delivery timestamps.
Best Practices
- Batch by zone -- Group orders from the same delivery zone for efficient routing.
- Limit route size -- Keep routes to 5-8 orders to maintain delivery time estimates. Large routes lead to long wait times for later customers.
- Assign early -- Assign drivers as soon as routes are ready so they can prepare.
- Monitor in real time -- Check the active routes view periodically to identify bottlenecks or delays.
- Review completed routes -- Use route history to identify patterns and improve future routing.
- Communicate delays -- If a route is running behind, contact affected customers proactively.
What's Next?
- Drivers -- Set up driver accounts and mobile access.
- Delivery Zones -- Configure zones for route planning.
- Packing Slips -- Print packing slips before dispatching routes.
- Shipping Zones -- Configure shipping for mail-order deliveries.