Receipts
After every completed sale, Brother POS can print a receipt automatically. This guide covers what appears on receipts, how to configure auto-printing, and how to reprint receipts from sales history.
Receipt Contents
A standard Brother POS receipt includes the following sections, from top to bottom:
Header
- Store name
- Store address (street, city, province, postal code)
- Store phone number
Transaction Details
- Date and time of the sale
- Receipt/sale number (unique identifier)
- Register name (which register processed the sale)
- Clerk first name (who processed the sale -- server-side receipts show first name only; can be hidden via
hide_cashier_on_receiptstore setting)
Line Items
Each product sold appears as a line item showing:
| Field | Description |
|---|---|
| Product name | Name of the item |
| Quantity | Number sold (or weight for weight-based products) |
| Unit price | Price per unit or per gram |
| Line total | Quantity x Unit price |
| Modifiers | Any selected modifiers listed below the item name |
| Discount | Item-level discount (if applied) |
Freebie items appear with a $0.00 price and are clearly marked as promotional items.
Totals Section
- Subtotal -- sum of all line items before discounts and tax
- Discount -- any order-level discount applied (with reason if provided)
- Tier Discount -- loyalty tier discount (if applicable)
- Promotion -- campaign discount (if applicable)
- Tax -- depending on configuration:
- Server-side receipts: Single tax line formatted as "Tax (13%): $5.07". In split tax mode, separate lines for GST and PST with their rates.
- Client-side (browser) receipts: Single "Tax:" line with no rate label.
- Total -- final amount charged
Payment Section
- Payment method (Cash, Debit, E-Transfer, Store Credit, or Split)
- Amount tendered (for cash payments)
- Change given (for cash payments)
- For split payments, each method and its amount are listed separately
Footer
- Custom footer text from the single
receipt_footerstore setting field (e.g., return policy, promotional message) - Hardcoded "Thank you for your business!" message printed after the custom footer
Auto-Print Receipts
How Auto-Print Works
When auto-print is enabled on a register, receipts print automatically as soon as a sale is completed. No action is required from the cashier.
Configuring Auto-Print
Auto-print is configured per register by an admin:
- Go to Admin > Registers (accessible from the Settings or Cash Drawers page).
- Select the register to configure.
- Enable Auto-print receipts.
- Select the receipt printer to use.
- Save the settings.
Each register can have different auto-print settings. For example, Register 1 might auto-print while Register 2 does not.
Disabling Auto-Print
If auto-print is not enabled, receipts must be printed manually:
- From the Sales History panel, find the sale and tap Reprint Receipt.
- This is useful for stores that only print on request.
Open Drawer Only Mode
Some registers are configured to open the cash drawer on sale completion without printing a receipt. This is the "open drawer only" mode -- the drawer kicks open but no paper is printed.
Reprinting Receipts
You can reprint a receipt for any past sale from the Sales History panel.
Steps to Reprint
- Open the Sales History panel in the cart pane.
- Find the sale you want to reprint. You can browse recent sales or search.
- Tap the sale to view its details.
- Tap Reprint Receipt.
- The receipt is sent to the register's configured receipt printer.
When to Reprint
Common reasons to reprint a receipt:
- Customer requests a copy (lost receipt, expense report)
- Printer ran out of paper during original print
- Receipt was not legible
- Manager needs a copy for records
Reprinted receipts are identical to the original. They include all the same details including the original date, time, and clerk name.
Receipt Printer Types
Brother POS supports several receipt printer types:
| Printer Type | Connection | Notes |
|---|---|---|
| Network ESC/POS | Ethernet/Wi-Fi | Most common. Epson TM-m30II recommended. |
| CloudPRNT (Star) | Cloud | Star printers that pull print jobs from the server. |
| Bluetooth | Bluetooth | Paired directly with the device running the POS. |
| USB via Printer Bridge | USB (through bridge) | USB printers accessed through the Printer Bridge utility. |
For printer setup, see Receipt Printing and Receipt Printers.
Receipt Customization
Admins can customize receipt content in Store Settings:
| Setting | Description |
|---|---|
| Store name | Appears at the top of every receipt |
| Store address | Full address block in the header |
| Receipt footer | Single custom text field printed at the bottom (a hardcoded "Thank you for your business!" line is always appended after it) |
| Tax display | Single or split tax mode |
| Tax label | Custom tax name (e.g., "HST", "GST", "PST") |
Receipts for Special Transactions
Void Receipts
When a sale is voided, a void receipt can be printed showing:
- The original sale details
- "VOIDED" stamp/indicator
- Void reason
- Who authorized the void
Return Receipts
Returns can be processed from either the POS (via the Report Product Issue / Process Return modal in the gear-icon settings panel, manager/admin only) or from the admin panel's Returns section. Either way, a return receipt is generated showing:
- Items returned
- Refund amount
- Refund method
- Original sale reference
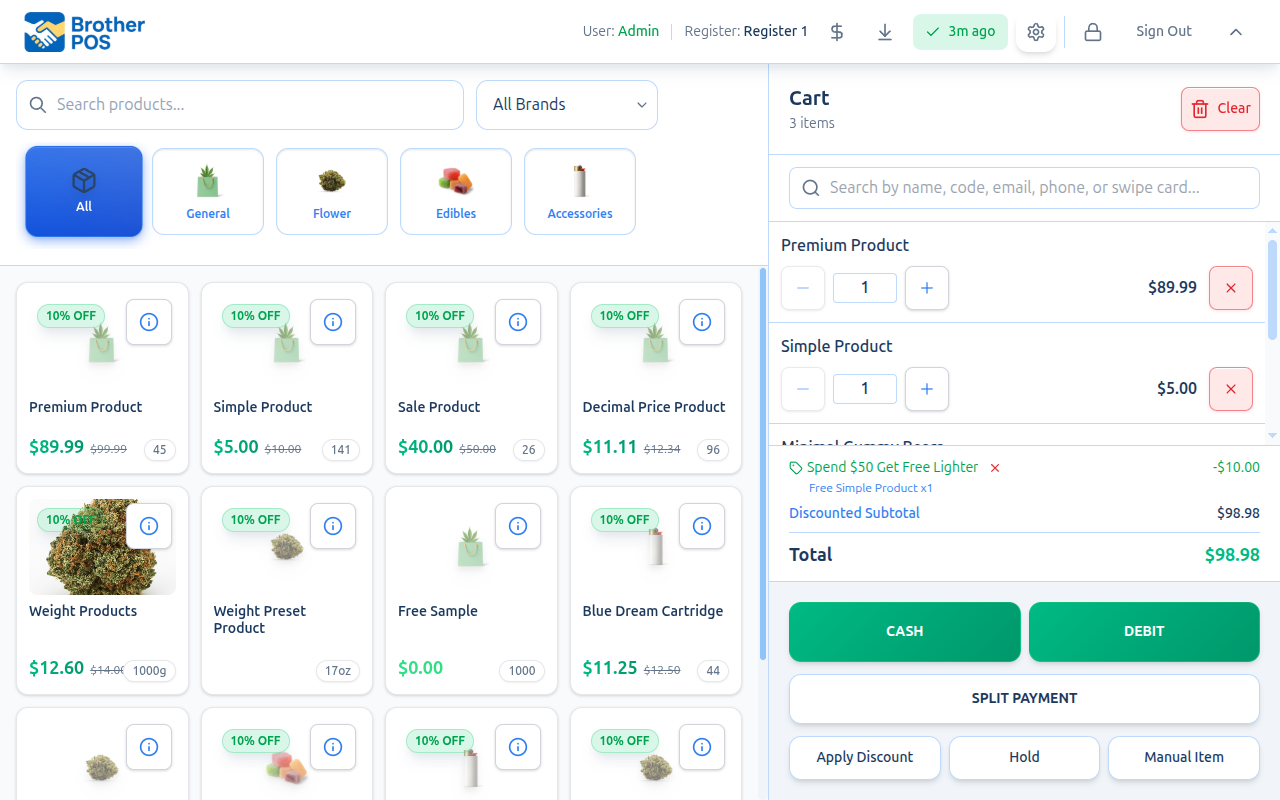
Split Payment Receipts
Split payment receipts list each payment method and amount in the payment section:
PAYMENT
  Cash:          $20.00
  Debit:         $40.00
  ─────────────────────
  Total Paid:    $60.00
Printing Labels
In addition to receipts, Brother POS can print product labels from the sales history if label printing is enabled on the register. This uses a separate label printer (ZPL/EPL format) configured in the admin panel.
The Reprint Labels option appears in the sale details when:
- A label printer is configured and enabled for the register
- The sale contains products that have label templates assigned
For label printing setup, see Label Printing.
Troubleshooting Receipt Printing
| Problem | Solution |
|---|---|
| Receipt does not print | Check that the printer is powered on, connected, and selected in register settings |
| Receipt prints garbled text | Verify the printer is set to ESC/POS mode, not PCL or another protocol |
| Receipt is faded | Replace the thermal paper roll or check the print head |
| Auto-print stopped working | Confirm auto-print is still enabled in register settings |
| Bluetooth printer disconnected | Re-pair the Bluetooth printer in device settings |
For more troubleshooting, see Printer Issues.
What's Next?
- Completing Payment -- the payment flows that trigger receipt printing
- Sales History -- finding past sales to reprint
- Receipt Printing Hardware -- setting up receipt printers
- Receipt Printers Admin -- configuring printers in the admin panel