Barcode Scanner
Use this page to set up a barcode scanner and scan products into the cart.
Quick steps
- Plug the scanner into the register by USB. For a Bluetooth scanner, pair it first in your device's Bluetooth settings.
- Open the register. There is nothing to install or turn on.
- Scan a product's barcode. You don't need to tap the search box first. The product goes into the cart; scan it again to add one more.
- If the Unrecognized barcode window opens, the code isn't on any product yet. Search for the right product and tap Attach to [product] (or ask a manager to).
Common questions
Nothing happens when I scan. Check the scanner is plugged in or paired and that the register is the window in front. Codes shorter than 8 characters are never read as a product scan.
The scanner beeps but the wrong product comes up. That code is set on the wrong product. A manager can check the product's barcode, SKU and extra barcodes in Admin > Products.
My Bluetooth scanner beeps but nothing shows up. It's probably not in keyboard (HID) mode. This is common with Socket scanners that came from Cova. See Setting Up a Socket Scanner. The Test scanner button in the register's Settings tells you whether scans are getting through.
Can I scan with the tablet's camera? Yes, in the iPad or Android app, once an admin turns on Enable Camera Scanning. Tap the camera button next to the search bar.
A "Not on the sales floor" window opened. The item is in back stock. Tap Move … to floor to bring out just what you need, and it goes into the cart.
More detail: before you begin, and how scanning works
Brother POS works with USB and Bluetooth barcode scanners that act like a keyboard (often called keyboard wedge scanners). The scanner "types" the barcode very fast, and Brother POS recognizes that fast burst as a scan. There are no drivers to install and nothing to set up in Brother POS. Plug in the scanner, scan a product, and it goes into the cart.
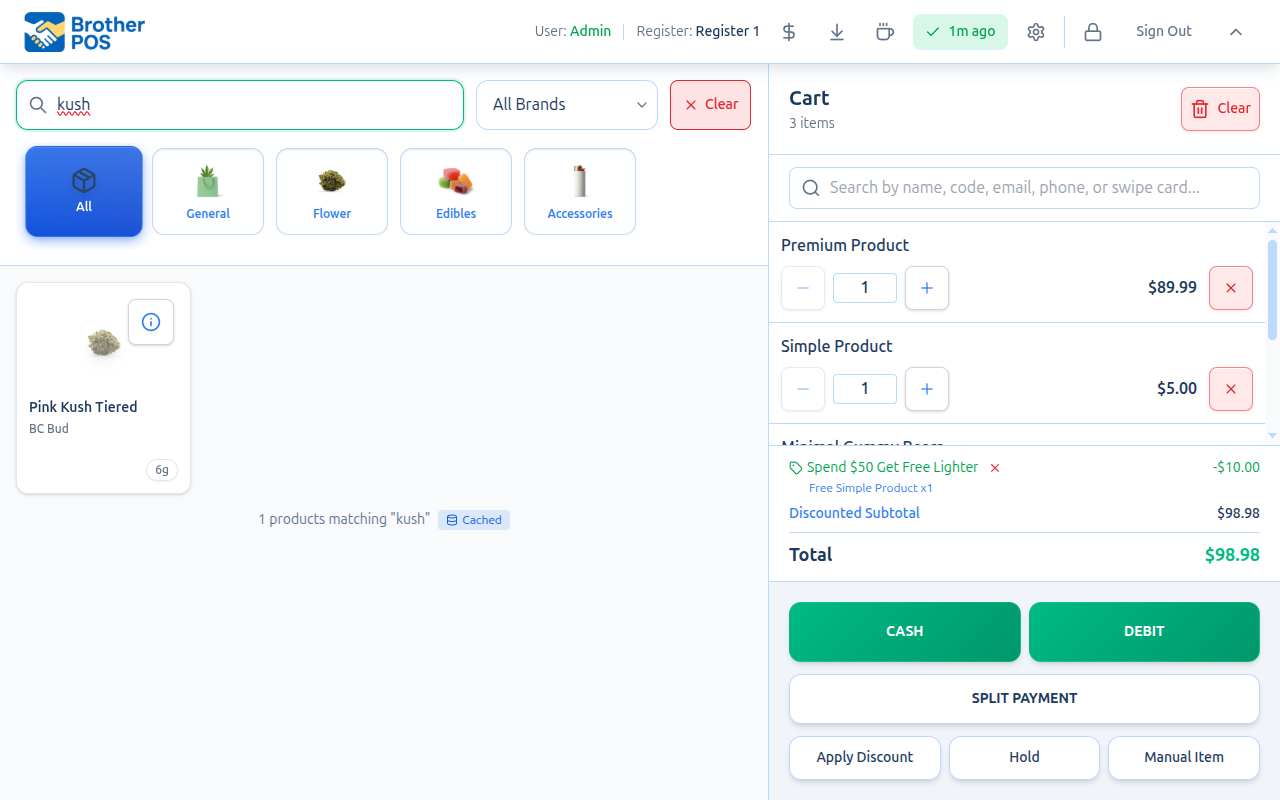
Before You Begin
- Your scanner must work in keyboard (HID) mode. Most USB barcode scanners work this way out of the box.
- The scanner can end each barcode with Enter, Tab, or nothing at all. All three work.
- Each product needs a Barcode, a SKU, or an extra barcode added to it. Brother POS matches a scan against all three.
- Pair a Bluetooth scanner with your device first, in your device's Bluetooth settings.
Plug the USB cable into your register (or pair over Bluetooth) and the scanner is ready right away.
How Scanning Works
Brother POS tells a scanner apart from a person typing by how fast the characters arrive. A scanner sends the whole code in a quick burst. It can end with Enter, with Tab, or just stop. Ordinary typing is too slow to be taken as a scan.
- Product codes must be at least 8 characters long. Anything shorter is never treated as a product scan.
- You don't need to click the search box first. Scans are picked up anywhere on the register screen.
- A scan goes to the cart even if the cursor is in another box. For example, right after you look up a customer, the next product scan still goes into the cart, not into the customer search. The box is left as it was.
- Customer cards can be scanned at any time, with no box selected. The customer is attached to the sale.
Supported Scanner Types
| Type | Connection | Compatibility |
|---|---|---|
| USB wired | USB-A or USB-C | Supported |
| Bluetooth | Bluetooth (keyboard mode) | Supported after pairing with your device |
| 2.4GHz wireless | USB dongle | Supported (works like a USB wired scanner) |
| Tablet camera | Brother POS iPad/Android app | Supported when camera scanning is switched on (see below). App only, not the web version. |
Any keyboard-mode scanner will work: handheld, hands-free presentation scanners, and wearable ring scanners. To read QR codes you need a 2D scanner.
Setting Up a Scanner
USB Scanner
- Plug the scanner into a USB port on your register.
- Open the POS register.
- Scan a product barcode. The product should go into the cart.
Bluetooth Scanner
- Put the scanner in pairing mode. Your scanner's manual explains how.
- Pair the scanner in your register device's Bluetooth settings.
- Open the POS register.
- Scan a product barcode to check it works.
More detail: scanning products and barcode formats
Scanning Products
Basic Scan
- Scan the barcode on the product. You can do this from anywhere on the register screen.
- Brother POS looks the code up against each product's barcode, SKU and extra barcodes.
- If it matches, the product is added to the cart with a quantity of 1.
- If the product is already in the cart, its quantity goes up by 1.
Weight-Based Products
Weighed products can carry two kinds of barcode:
- A product's main barcode opens the same weight picker you get when you tap the product. You pick a weight from the options set up for that product. (If the product has only one weight option, it is added straight away, just like a tap.) See Weight-Based Products.
- A barcode printed for one exact weight (for example, a label for a 7g bag) adds that weight straight to the cart.
Products With Variations or Modifiers
If the scanned product needs a choice, such as a size, flavour or add-ons, the same picker opens that you'd get by tapping it. Make your choice and the item is added.
Other Codes You Can Scan
The register also recognizes a few non-product codes:
- Customer loyalty codes (for example C10001) attach that customer to the sale.
- Gift card codes open the gift card screen.
- Promo prize codes open the prize redemption screen. A scanned prize code that doesn't exist shows Reward code not found, including the shorter 7-character jackpot codes.
Barcode Formats
Brother POS works with any barcode your scanner can read, as long as the decoded value:
- matches a product's barcode, SKU or extra barcode, and
- is at least 8 characters long with no spaces.
| Format | Common Use | Example |
|---|---|---|
| UPC-A | Standard retail (12 digits) | 012345678905 |
| EAN-13 | International retail (13 digits) | 4006381333931 |
| Code 128 | Variable length, letters and numbers | SKU-BLUEDREAM-35G |
| QR Code | 2D codes (needs a 2D scanner) | Text with no spaces |
| Code 39 | Letters and numbers, older systems | BD-001-35 |
If your store uses its own SKUs instead of manufacturer barcodes, print labels whose barcodes encode those SKUs. A scan matches the SKU just like it matches a barcode. Keep SKUs to 8 characters or more so they scan.
More detail: when a scan doesn't match
When a Scan Doesn't Match
If a scanned code doesn't match any product, the Unrecognized barcode window opens and shows the code.
- If you can manage products, search for the product the barcode belongs to, select it, and tap Attach to (the product's name). The code is added to that product as an extra barcode, so the next scan finds it. This is the quickest way to handle a new manufacturer barcode for an item you already carry, without creating a duplicate product.
- If you can't manage products, the window says the barcode isn't on any product. Ask a manager to attach it.
If the register is offline, you'll see a message instead: Barcode not found. Reconnect to attach it to an existing product.
Common Reasons for Failed Scans
| Problem | Cause | Solution |
|---|---|---|
| Unrecognized barcode opens | The code isn't on any product | Attach it to the right product, or add it as the product's barcode in the admin panel |
| Wrong product found | The code is set on the wrong product | Check the barcode, SKU and extra barcodes in Admin > Products |
| Nothing happens | Code is shorter than 8 characters | Use a longer barcode or SKU |
| Nothing happens | Scanner sends the code too slowly, so it looks like typing | Move a Bluetooth scanner closer, or use a USB scanner |
| Wrong characters appear | Scanner and device keyboard layouts don't match | Set the scanner to the same keyboard layout as your device |
| Nothing happens at all | Scanner not connected | Check the USB cable or the Bluetooth pairing |
More detail: camera scanning (iPad and Android app)
Camera Scanning (Native App)
If your store uses the Brother POS iPad or Android app, staff can scan barcodes with the tablet's camera. You don't need a separate scanner. This is handy on tablets without a scanner, and for stores bringing loyalty cards over from another system.
A camera scan works just like a hardware scan: the product goes straight into the cart. That includes codes with letters in them, such as your own SKUs.
Enabling Camera Scanning
Camera scanning is off by default. An admin turns it on:
- In the Admin Panel, go to Settings and click Edit Settings.
- On the Hardware & System tab, find the Camera Barcode Scanning section.
- Turn on Enable Camera Scanning and save.
Once it's on, a camera button appears in two places in the app:
- The register search bar, for scanning a product barcode.
- The customer lookup field, for scanning a loyalty card. See Customer Lookup.
The camera button only appears in the Brother POS iPad/Android app. It has no effect on the web version. If you don't see it after turning the setting on, check that you're using the installed app and not a browser.
Using Camera Scanning
- Tap the camera button next to the search field.
- The first time, your device asks for permission to use the camera. Allow it.
- Point the camera at the barcode.
- As soon as the code is read, the camera closes and the product (or customer) is looked up.
- If your device has a flashlight, a flashlight button is available for low light.
- Tap the X button to close the camera without scanning.
The camera is slower than a hardware scanner, so busy registers should still use a physical scanner. The camera is best for occasional scans, tablets without a scanner, and reading loyalty cards.
More detail: pop-up windows and back stock
Scanning While a Window Is Open
- On the main register screen, scanning works at any time, even when a box such as customer search has the cursor. The scan goes to the cart.
- When a pop-up window is open, a scan is not added to the cart. If the pop-up has a box with the cursor in it, the scanned code is typed into that box. This is how you scan a gift card code into the gift card window.
- Swiping a card through a card reader into the customer search box stays in the customer search, so the customer is looked up.
Items Kept in Back Stock
If your store keeps stock in more than one place (a Sales Floor and back stock such as a vault), the register only sells what's on the sales floor. If you scan an item and the floor doesn't have enough, but back stock does, a Not on the sales floor window opens. It shows how much is on the floor and in back stock.
Tap Move N to floor (for example Move 3.5g to floor) to move just the missing amount out front. The item is then added to the cart. See Cart Management for details.
More detail: troubleshooting and best practices
Troubleshooting
| Problem | Solution |
|---|---|
| Scanner isn't detected at all | Check it's plugged in and your device recognizes it. Try a different USB port. |
| Scan types into the search box but nothing is added | Check the code is at least 8 characters. If your scanner doesn't send Enter, codes that aren't all numbers are only picked up when the cursor is not in the search box. Tap an empty part of the screen and scan again, or set the scanner to send Enter. |
| Scanner adds the wrong product | Check that product's barcode, SKU and extra barcodes. Scan into a notes app to see exactly what the scanner sends. |
| Bluetooth scanner drops connection | Move closer to the register, check the battery, and re-pair if needed. |
| Scanner beeps but nothing happens in the POS | Make sure the POS window is the active window. Scanners type into whatever app is in front. |
Best Practices
- Give every product a barcode or SKU of at least 8 characters. Products without one can't be scanned.
- Attach new manufacturer barcodes to existing products instead of creating duplicates.
- Test after setup. Scan a few products to confirm everything works.
- Keep a backup scanner so checkout isn't held up if one fails.
- Print barcode labels for products without manufacturer barcodes. See Label Printing.
What's Next?
- Setting Up a Socket Scanner: switch a Bluetooth scanner to keyboard mode
- Label Printing: print barcode labels for products
- Scale: weigh products at the register
- Making a Sale: the complete sales workflow