Logging In
Brother POS has two login methods depending on which interface you are accessing. The Admin Panel uses email and password authentication, while the POS Register uses a fast PIN-based login designed for quick cashier switching.
Accessing Your Store
Every Brother POS store has a unique subdomain. You must use your store's specific URL to access the system.
Your Store URL
Your store URL follows this format:
https://storename.brotherpos.ca
Replace storename with your store's actual subdomain. For example:
https://yourstore.brotherpos.cahttps://greenleaf.brotherpos.cahttps://downtown-shop.brotherpos.ca
You must use your store's exact subdomain. If you navigate to the wrong subdomain, you will either see a different store's login page or an error. If you are unsure of your store's URL, ask your administrator.
Bookmarking Your Store
For quick access, bookmark these two URLs in your browser:
- Admin Panel:
https://storename.brotherpos.ca - POS Register:
https://storename.brotherpos.ca/pos
Installing as a PWA
For the best experience, install Brother POS as a Progressive Web App (PWA). This gives you a desktop or home screen icon that launches the POS in full-screen mode without browser controls — it looks and feels like a native app.
Chrome (Desktop):
- Navigate to your POS URL (
https://storename.brotherpos.ca/pos). - Click the install icon in the address bar (a monitor with a down arrow), or open the ⋮ menu and select Install app.
- Click Install in the confirmation dialog.
Chrome (Android):
- Navigate to your POS URL in Chrome.
- Tap the ⋮ menu and select Add to Home screen or Install app.
- Tap Install or Add.
Safari (iOS / iPad):
- Navigate to your POS URL in Safari.
- Tap the Share button (the square with an upward arrow).
- Scroll down and tap Add to Home Screen.
- Tap Add.
After installation, a Brother POS icon appears on your desktop or home screen. Tap it to launch directly into the POS.
Admin Panel Login
Admin ManagerThe Admin Panel is where you manage products, view reports, configure settings, and perform all back-office operations. It uses standard email and password authentication.
Step-by-Step
-
Open your browser and navigate to
https://storename.brotherpos.ca. -
You will see the login page with fields for email and password.
-
Enter your email address — the one your administrator set up for your account.
-
Enter your password.
-
Click "Sign In" or press Enter.
-
If your credentials are correct, you will be redirected to the admin dashboard.
First-Time Login
When your account is first created, your administrator will provide you with:
- Your email address (used as your username)
- A temporary password
After your first login, change your password immediately. Go to your profile settings in the admin panel to update it. Choose a strong password that is at least 8 characters long and includes a mix of letters, numbers, and symbols.
Login Troubleshooting
| Problem | Solution |
|---|---|
| "Invalid email or password" | Double-check your email and password. Passwords are case-sensitive. |
| Forgot your password | Ask your administrator to reset your password. There is no self-service password reset on the login page. |
| Cannot reach the login page | Verify you are using the correct subdomain. Check your internet connection. |
POS Register Login
Cashier Manager AdminThe POS Register uses a PIN-based login system designed for speed. Cashiers need to switch in and out quickly throughout the day, and typing a full email and password each time would slow things down.
Step-by-Step
-
Open the POS Register by navigating to
https://storename.brotherpos.ca/posor launching the installed PWA. -
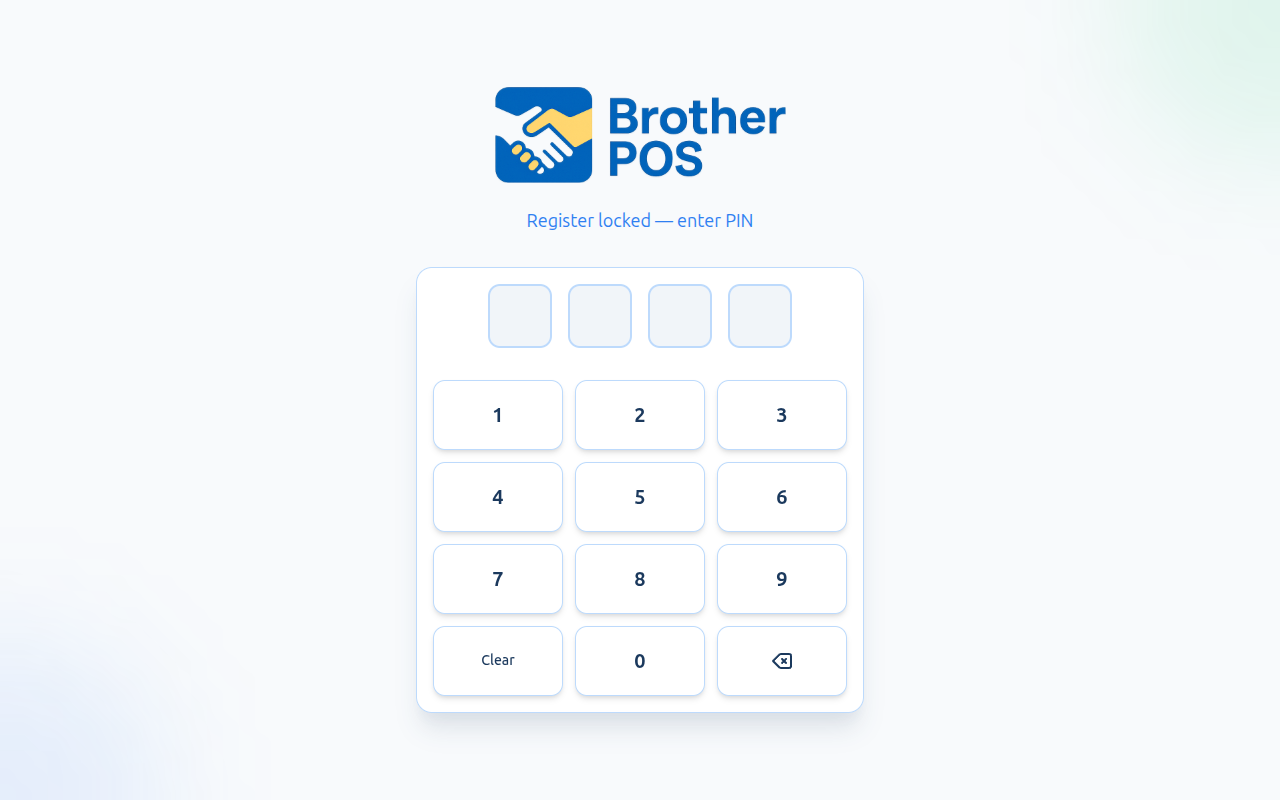
You will see the PIN entry screen — a numeric keypad.
-
Enter your PIN using the on-screen keypad or a physical keyboard.
-
The system will authenticate you and load the POS interface.
Your PIN
- PINs are exactly 4 digits long.
- Your PIN is set by your administrator when your account is created.
- Admins can change their own PIN from their account settings. Non-admin users must ask an admin to change their PIN.
Your PIN is separate from your admin panel password. Even if you have access to both the POS and the Admin Panel, you use:
- Email + password for the Admin Panel
- PIN for the POS Register
They are different credentials for different interfaces.
Switching Cashiers
One of the strengths of PIN login is fast cashier switching. When a shift changes or a cashier takes a break:
- The current cashier can lock the register or log out.
- The next cashier enters their PIN on the keypad.
- The POS switches to the new cashier's session immediately.
This happens without closing the current cash drawer session. Multiple cashiers can work on the same register during a single drawer session — each transaction is tracked to the individual cashier who completed it.
PIN Login Troubleshooting
| Problem | Solution |
|---|---|
| PIN not recognized | Make sure you are entering the correct PIN. Ask your manager to verify or reset your PIN. |
| Cannot see the PIN keypad | Ensure you are at the /pos URL, not /admin. The admin panel uses email/password login. |
| PIN screen not loading | Check your internet connection. Try refreshing the page. If the POS was installed as a PWA, try closing and reopening it. |
Role-Based Access
What you can access depends on your role:
| Role | Admin Panel | POS Register | Driver App |
|---|---|---|---|
| Admin | Full access | Full access | No |
| Manager | Most features | Full access | No |
| Cashier | No access | Full access | No |
| Driver | No access | No access | Full access |
If you are a cashier (clerk) and try to navigate to /admin, you will be denied access. This is by design — the admin panel is restricted to managers and admins. If you need access to admin features, ask your administrator to upgrade your role.
Session Management
Admin Panel Sessions
- Your admin session lasts until you log out manually. There is no idle timeout — if you leave a browser tab open, you remain signed in.
- You can be logged into the admin panel from multiple devices simultaneously.
- Closing the browser tab does not end your session — you will remain logged in when you return.
- If you checked Remember me at sign in, your session persists across browser restarts until you log out.
POS Register Sessions
- POS sessions are tied to the cash drawer session, not individual users.
- When a cash drawer is open, any authorized cashier can log in with their PIN to process sales.
- Sales are attributed to the cashier whose PIN was used at the time of the transaction.
- The POS session persists even if the browser is closed, as long as the cash drawer session remains open.
Security Best Practices
For Admins and Managers
- Use strong passwords. At least 8 characters with a mix of character types.
- Do not share your password. Each user should have their own account.
- Log out when leaving. Especially on shared computers.
- Change your password periodically. Every 90 days is a good practice.
For Cashiers
- Keep your PIN private. Do not share it with other staff members.
- Lock the register when stepping away, even briefly.
- Always log in with your own PIN before processing a sale. Never complete a transaction under another cashier's PIN.
Every transaction is tied to the user who processed it. Sharing PINs or passwords makes it impossible to track who did what, and can create accountability issues during cash reconciliation.
Multi-Store Access
If you work at multiple Brother POS locations, each store has its own subdomain and its own set of credentials. You may have:
- Different PINs at different stores
- The same email but the login is specific to each store's subdomain
- Different roles at different locations (e.g., manager at one store, clerk at another)
Navigate to the appropriate store's subdomain to access that location's system.
Store Owner Access
AdminIf you are a store owner managing multiple locations, you can access the Owner Dashboard from within the admin panel. The Owner Dashboard provides cross-store analytics and the ability to switch into any of your stores.
What's Next?
- Cashiers: Continue to POS Quick Start to learn how to ring up your first sale.
- Managers & Admins: Continue to Admin Quick Start to start configuring your store.
- Everyone: Learn about User Roles & Permissions to understand what your role can do.