Admin Quick Start
This guide walks you through your first session in the Brother POS Admin Panel. In about 5 minutes, you will learn how to log in, add a product, and configure the most important settings for your store.
Make sure you have received your login credentials (email and password) from the person who set up your Brother POS account. If you are the very first admin, your credentials were provided during store provisioning.
Step 1: Log In to the Admin Panel
-
Open your browser and navigate to:
https://storename.brotherpos.caReplace
storenamewith your store's subdomain. -
Enter your email address and password.
-
Click "Sign In".
-
You will land on the Admin Dashboard — a summary view of your store's activity.
If this is your first time logging in, you may be prompted to change your temporary password. Choose a strong password and remember it — you will need it every time you access the admin panel.
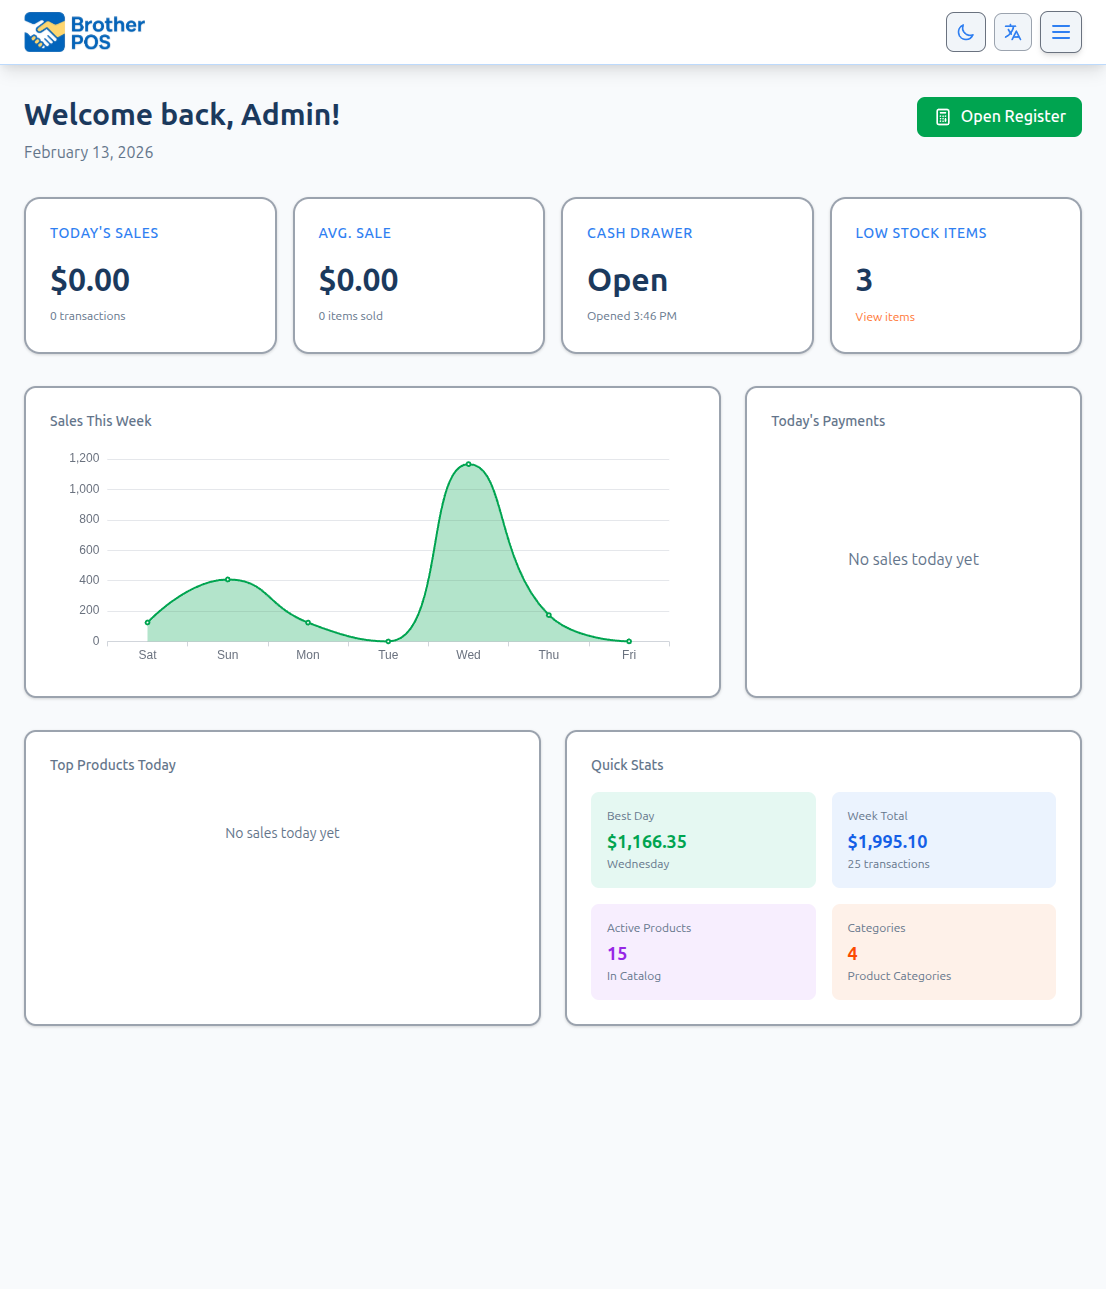
Step 2: Explore the Dashboard
The Admin Dashboard gives you a quick overview of your store's current state:
- Today's sales — Total revenue, number of transactions, and average transaction value
- Cash drawer status — Whether any drawers are currently open
- Low stock alerts — Products that are running low on inventory
- Quick stats — Best day this week, week total, active products, and category count
Take a moment to familiarize yourself with the layout. The top navigation bar is your primary way to move between sections. We will explore this in detail in Navigating the Admin.
Step 3: Add Your First Product
Let us add a product so your cashiers have something to sell.
-
In the top navigation bar, click "Products".
-
Click the "New Product" button (usually at the top right of the product list).
-
Fill in the required fields:
Field Description Example Name The product's display name "Blue Dream 3.5g" SKU A unique code for the product (used for barcode scanning) "BD-35-001" Price The pre-tax retail price 35.00 Category The product category "Flower" Current Stock How many units are in stock 50 -
If your store has cannabis features enabled, you may also see fields for:
Field Description Example THC % THC percentage 22.5 CBD % CBD percentage 0.1 Strain Type Indica, Sativa, or Hybrid "Hybrid" Dominant Terpene Primary terpene "Myrcene" -
Click "Save" or "Create Product".
Your product is now in the system and will appear on the POS register.
Choose a consistent SKU format for all your products. For example:
FLO-BD-35for Flower - Blue Dream - 3.5gEDI-CHO-10for Edible - Chocolate - 10mgACC-GRN-01for Accessory - Grinder - Model 01
Consistent SKUs make barcode scanning reliable and inventory management easier.
Step 4: Configure Tax Settings
Tax configuration is critical — getting it wrong means incorrect totals on every sale.
-
In the top navigation bar, click "Settings".
-
Click the "Tax & Currency" tab.
-
Configure your tax rate based on your province/jurisdiction:
Single tax rate (e.g., Ontario HST):
- Set the tax rate to your combined rate (e.g., 13% for HST).
Split tax rate (e.g., Saskatchewan GST/PST):
- Enable split tax mode.
- Set the GST rate (e.g., 5%).
- Set the PST rate (e.g., 6%).
Additional tax (e.g., SK Vapour Products Tax):
- If your jurisdiction has additional product-specific taxes, enable additional tax and configure the rate.
-
Click "Save".
After setting up taxes, create a test sale on the POS to verify the tax is calculated correctly. Compare the receipt totals against your manual calculation. Incorrect tax configuration can cause compliance issues.
Step 5: Create User Accounts
Your staff will need accounts to use Brother POS. Let us create a cashier account.
-
In the Admin Panel, go to Settings and click the "Manage Users" link at the top of the page.
-
Click "Add Staff Member".
-
Fill in the user details:
Field Description Example Name The user's full name "Sarah Johnson" Email Their email address (for admin login) "sarah@greenleaf.ca" Password A temporary password "Welcome123!" Role Their access level "Clerk" PIN Their POS register PIN (4 digits) "1234" -
Click "Save" or "Create User".
The user can now log in to the POS register with their PIN and (if their role allows) to the admin panel with their email and password.
Recommended Roles
- Clerk for cashiers who only need POS register access
- Manager for shift leads who need POS access plus admin capabilities (reports, inventory, cash drawers)
- Admin for full-access users who manage the entire system
See User Roles & Permissions for a detailed breakdown of what each role can do.
Each user should have their own 4-digit PIN for POS login. While the system does not enforce PIN uniqueness, using duplicate PINs can cause authentication issues. Use distinct PINs for each staff member to ensure accurate transaction tracking.
Step 6: Open a Cash Drawer
Before cashiers can start selling, a cash drawer session needs to be opened. Drawer sessions are opened from the POS register, not from the admin panel — the Cash Drawers page in the admin is a read-only history of past and active sessions.
-
On the register device, open the POS at
storename.brotherpos.ca/posand sign in with an Admin or Manager PIN. -
If no session is active, the POS prompts you to open a drawer.
-
Select the register this drawer belongs to (if your store has multiple registers).
-
Enter the starting float — the amount of cash you are putting in the drawer at the start of the shift (e.g., $200.00).
-
Confirm.
The drawer session is now active. Any cashier can log in to the POS on that register with their PIN and start processing sales. You can verify the session appears under Cash Drawers in the admin panel.
A cash drawer session is tied to a physical register, not to a specific cashier. Multiple cashiers can process sales on the same register during a single drawer session. Each sale is tracked to the individual cashier who completed it.
Your First 5 Minutes: Checklist
Here is a summary of what you have accomplished:
- Logged in to the admin panel
- Explored the dashboard
- Added your first product
- Configured tax settings
- Created a user account for a cashier
- Opened a cash drawer
Your store is now ready for its first sale. Ask a cashier to log in to the POS register and try processing a transaction.
What To Do Next
After completing this quickstart, there are several important tasks to tackle:
Immediate Priorities
| Task | Where | Why |
|---|---|---|
| Add all your products | Products page > New Product | Cashiers cannot sell what is not in the system |
| Set up all user accounts | Settings > Manage Users > Add Staff Member | Every staff member needs their own account |
| Configure receipt settings | Settings > Hardware & System tab | Customize your receipt with store name and footer text |
Within the First Week
| Task | Where | Why |
|---|---|---|
| Configure loyalty program | Settings > General tab | Start earning customer loyalty from day one |
| Set up product categories | Products > Categories | Organize products for easy browsing on the POS |
| Import products in bulk | Products > Import | If you have a CSV of products, import them instead of adding one by one |
| Configure compliance settings | Settings > Tax & Currency tab | Required for cannabis regulatory reporting |
| Connect WooCommerce | the WooCommerce Integration link on the Settings page | Sync your online store with your POS |
Ongoing
| Task | How Often | Why |
|---|---|---|
| Review sales reports | Daily | Track performance and catch issues early |
| Reconcile cash drawers | End of each shift | Ensure cash accountability |
| Check inventory levels | Weekly | Reorder before products run out |
| Review user access | Monthly | Remove departed staff, update roles as needed |
Tips for New Admins
-
Start simple. Get the basics working (products, users, tax) before exploring advanced features like integrations and B2B.
-
Test everything. After any configuration change, do a test sale on the POS to make sure things work as expected.
-
Use categories. Well-organized categories make the POS faster for cashiers and reports more meaningful for you.
-
Back up your product data. Export your product list regularly so you have a backup outside the system.
-
Train your staff. Share this knowledge base with your cashiers and managers. Point them to the POS Quick Start for their first day.
-
Explore the settings. Brother POS has many configurable options. Spend some time in the Settings section to customize the system for your store's specific needs.
What's Next?
- Store Setup — Complete the full first-time configuration checklist.
- Navigating the Admin — A detailed tour of every section in the admin panel.
- User Roles & Permissions — Understand the full permission matrix.
- POS Quick Start — Walk through the cashier experience yourself.